 Stone Hedge
Locomotive No. 7 - the "Mister Calvin"
October,
2009.
The
Stonehedge Railway gets a new Locomotive!
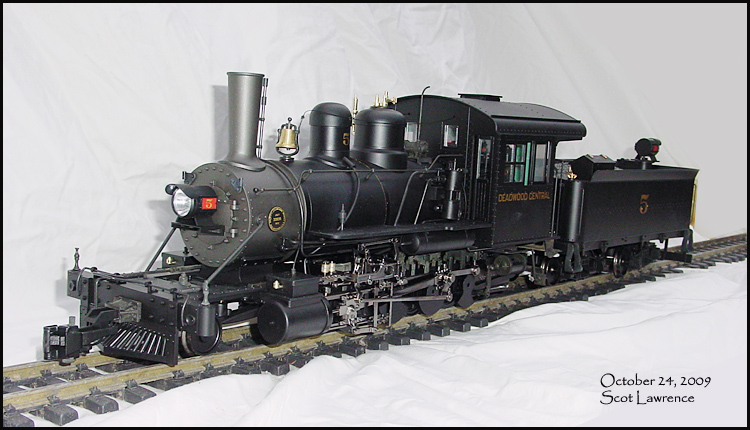
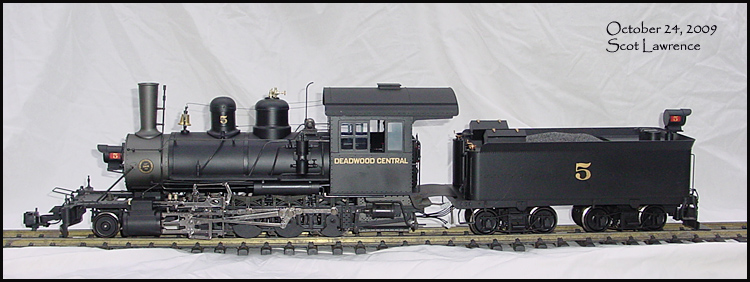
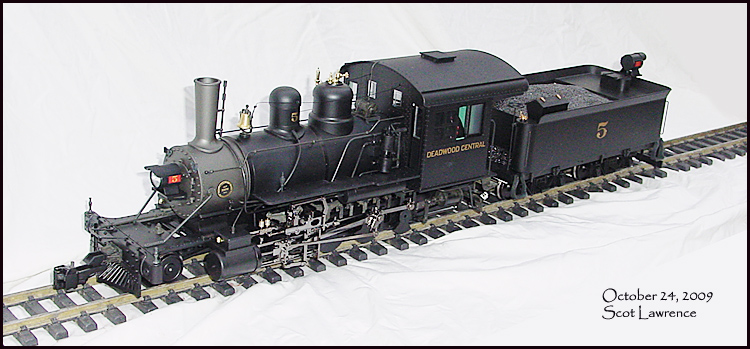
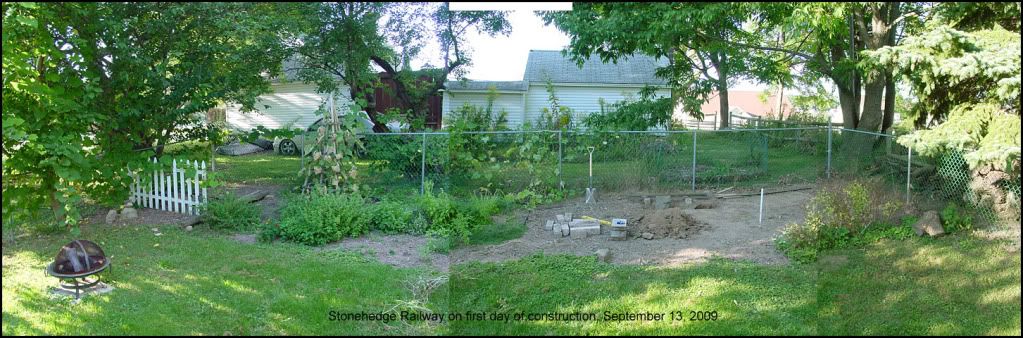
Stonehedge No. 7, named after the Supervisor of the Railroad, Mister Calvin:  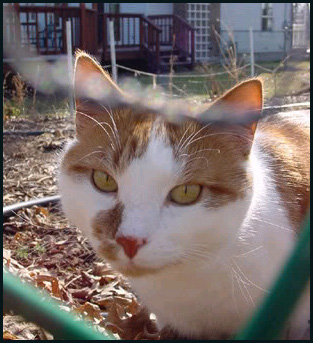 Calvin supervises during some early construction on the railroad: 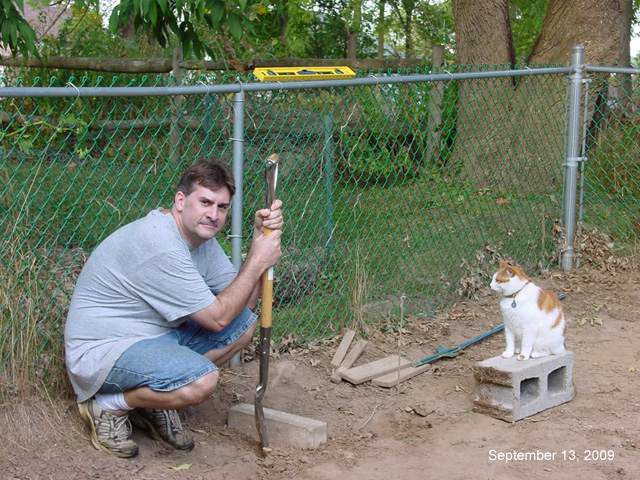 I must give credit for the origin of this project to David Fletcher, thanks Dave! Here is Dave's creation, turning the "connie" into the "Quick & Dirty K27": 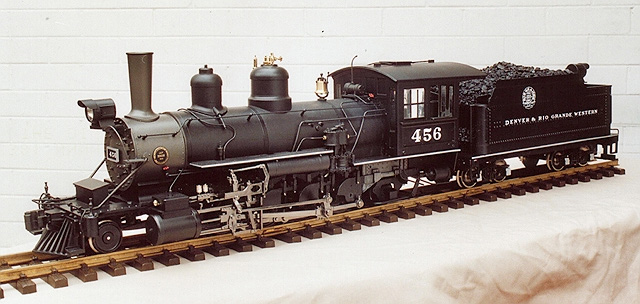 I love the look of that locomotive! Its not a 100% accurate K27, but that doesnt bother me.. Honestly, the Connie "as built" doesnt interest me much at all..I just dont care for the way it looks..And the Full-on K27, with the big slanted K27 cylinders, also doesnt interest me much.(Fletch later modeled the "full-on K27 bash" from the Connie, making it more accurate than the "quick & dirty version) Photo of a real K27. And im also not interested in 1/20.3 scale (Fn3) "Colorado 3-foot gauge" modeling..I doubt I will ever actively model in 1/20.3 scale..(I have never even been to Colorado!) I have enough to last me (probably for life ;) with 1/29 scale diesels and Maine 2-footer modeling.. So im not interested in the Connie "as built", and im also not at all interested in modeling an actual K27..but! something about Fletch's "Quick & Dirty" K27 really "spoke" to me! to me, it looks so much better than a real K27! its "sleek and stylish"..I love keeping the original cylinders (as opposed to the later "slanted" big and clunky K27 cylinders. (yes I do know the K27's originally had different cylinders! ;) So as soon I saw the "Quick & Dirty" version back in 2002, I knew I had to build one! (or a similar bash anyway) So finally in September 2009 I was able to pick up a "Connie" for a very good price that I couldnt pass up..and the Connie is perhaps on the verge of being "out of production"..so I picked one up while I still had the chance.. I'm not even going to consider the finished model a "K27" at all..it will simply be "Stonehedge No. 7", a large 2-8-2. Im not even concerned about the exact scale..using the K27 plans and the Bachman Big Hauler wood cab, it scales out to about 1/24 (if it was a K27)..which is fine with me. (I model diesels in 1/29 scale, but the Stonehedge Steam Locomotive fleet isnt really any specific scale! im simply not concerned about it.) Photos of the Locomotive as it arrived, before any mods made..this is the Bachmann Spectrum outside frame 2-8-0 Consolidation, nicknamed "connie" by large scale modelers: 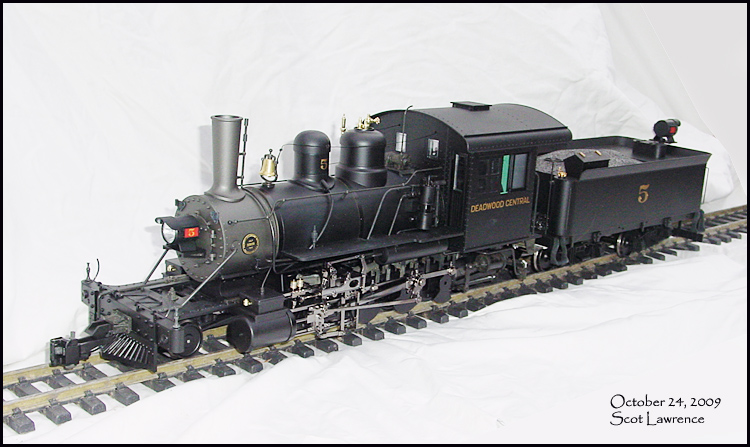
October
29, 2009
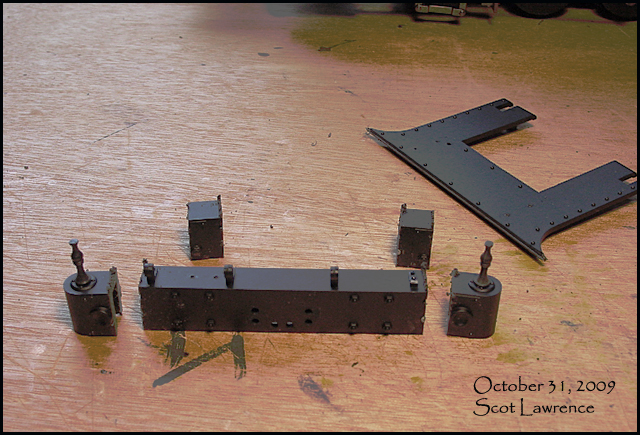
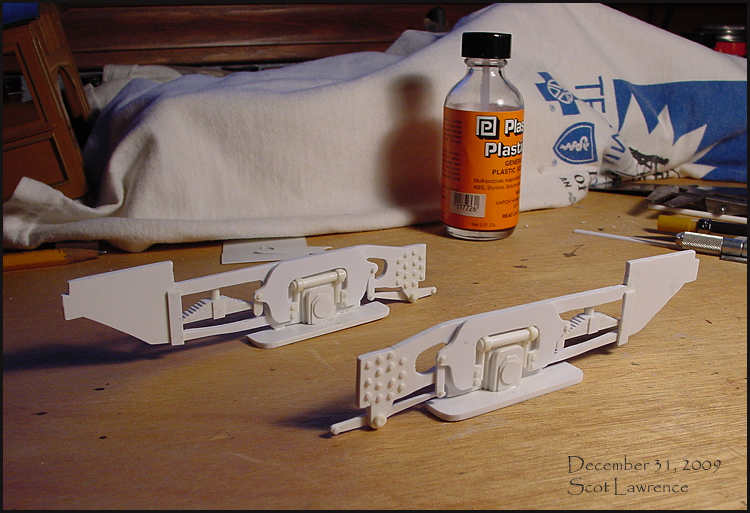
October 31, 2009
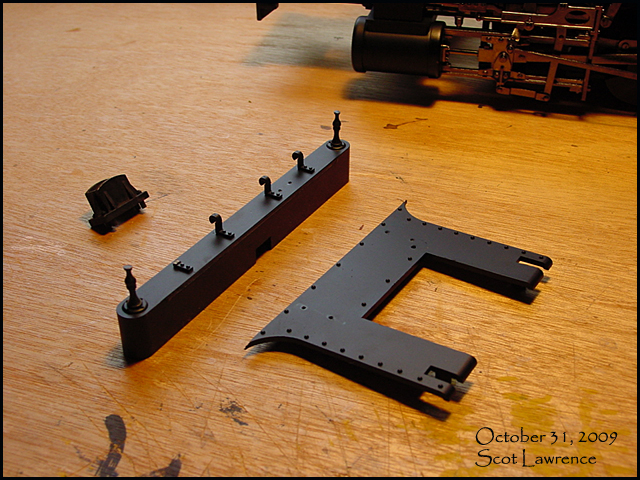
Coupler pocket
is raised by cutting off top
metal posts, insert
remaining bottom posts into
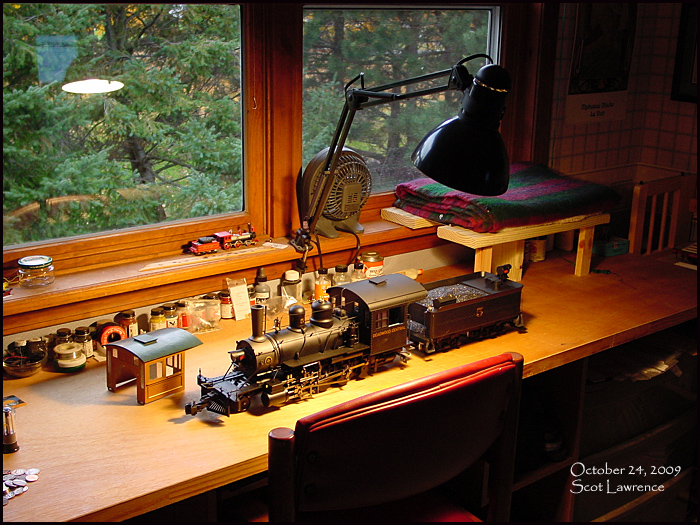
holes for top post. Annie
pilot will be glued on. I generally
work on models only during
the winter months..which in
Rochester is 5 months
long!
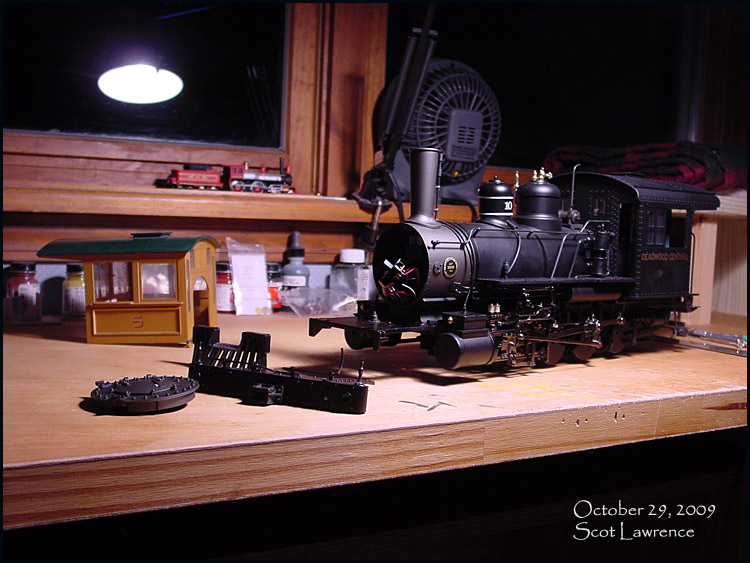
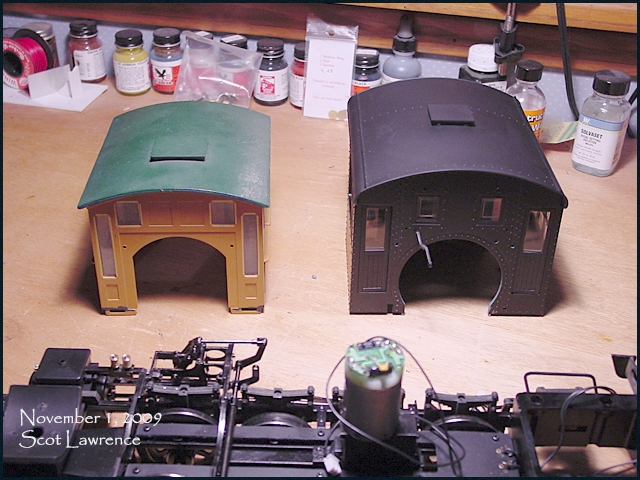
 Comparison
of
the two cabs,
(below) Im going to
use a Bachman Big
Hauler/Annie "wood
cab" for the new
'bash. (wood cab on
the left), original
HUGE connie cab on
the right. Thanks to
Ralph Berg from MLS
for trading cabs
with me! A
note on Bachman
Big Hauler
cabs...There are
two different
versions of the
Big Hauler
*steel* cab..the
older, original
version "big
hauler" steel
cab, and the
improved, better
detailed "annie"
steel
cab..however
there are not
two versions of
the wood cab!
The older Big
Hauler wood cab
was already
well-detailed
enough that they
didnt change it
for the
annies..so the
older Big Hauler
wood cabs, and
the Annie *wood*
cabs are exactly
the same..
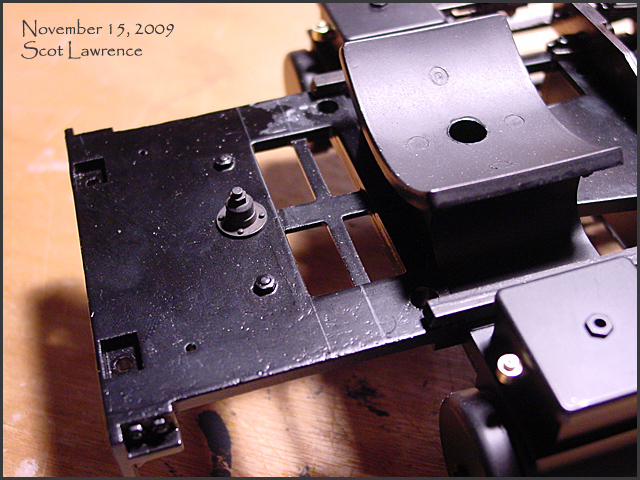
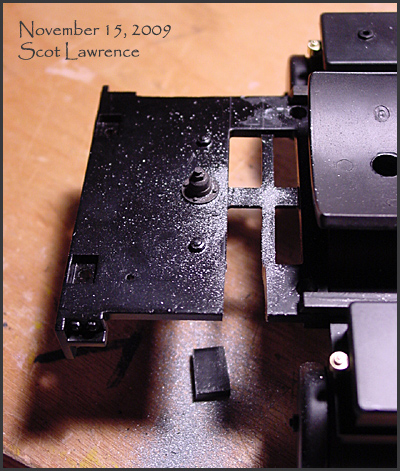
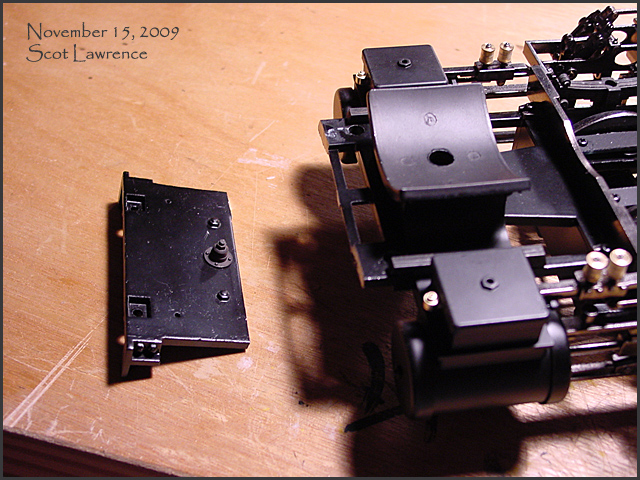
November
15, 2009
Now
I need to
re-attach the
pilot to the
frame..probably
using some
brass strip
and screws on
the underside.
I went through
4 jewlers saw
blades! to
make 4 cuts.
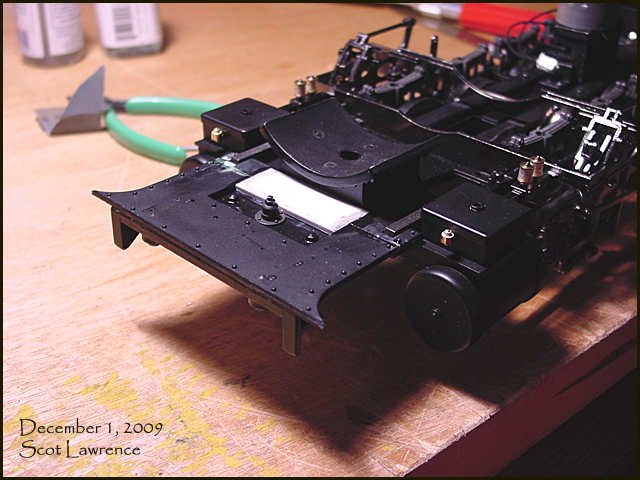
December
1, 2009
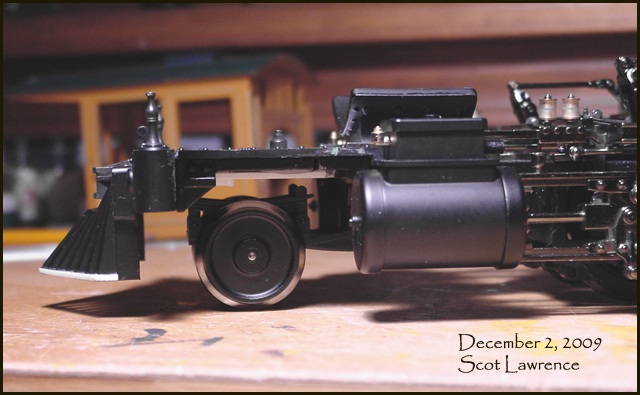
December
2, 2009 A
side view:
I
will have to
trim off a bit
of the pilot
truck spring
supports,
because they
hit the pilot
in
curves..shouldnt
be very
noticable on
the finished
engine..
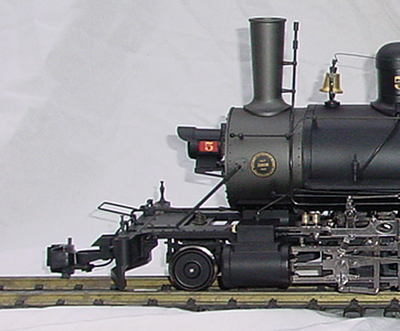
And
a view (above)
showing the
original pilot
length..it
looks much
better
shorter!
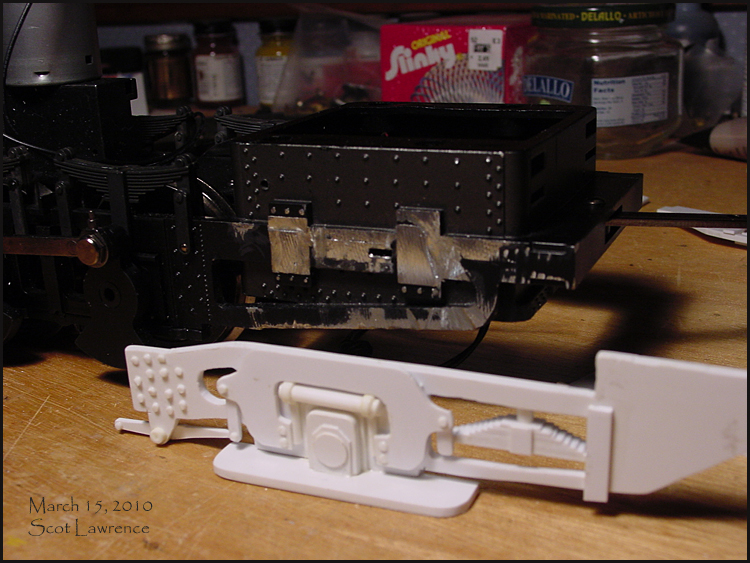
March
15, 2010
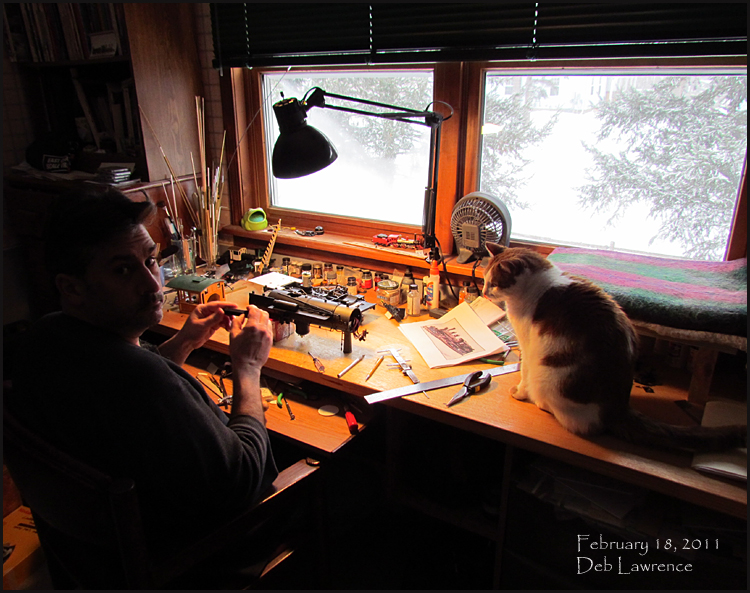
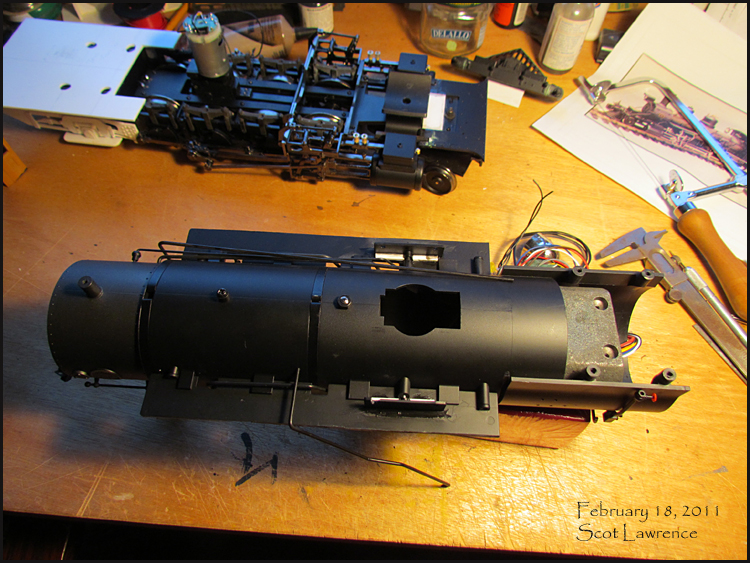
February
18, 2011
Then,
(also
in the photo
above) I cut
down the width
of the running
boards to
match the
width of the
cab deck..I
didnt record
how much I cut
off each side,
but I
determined the
cut positions
by measuring
the overall
width across
both running
boards, when
attached to
the boiler,
subtract the
width of the
cab deck
(xmm), divide
by 2, and that
is the amount
to trim off
each running
board, from
the outside
edge.
And
this concludes
"Winter Number
2"
And now..a brief pause..  While
I:
Wait to get laid-off from Kodak, after 17 years working there. (most of 2011) Get laid off from Kodak (Spring 2012) Make plans to go back to college full-time and train for a totally new career. (1st half of 2012) Go back college full-time ( Fall 2012, all of 2013, Spring 2014) Start an all-new career at age 45. (Summer 2014) annnnd..four
years later,
we are back!
:)
Here is Spring 2011, four years ago, where we left off: 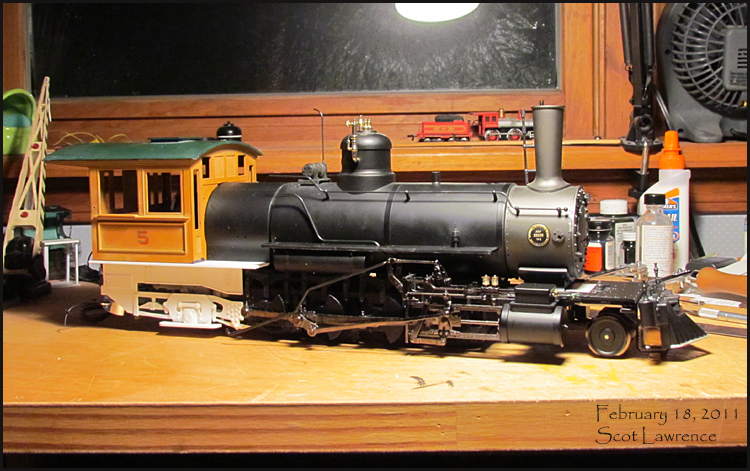 and now, Spring 2015: 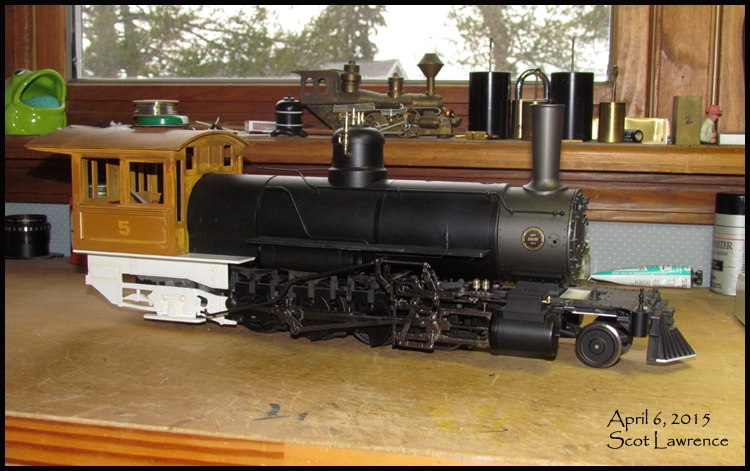 (the model is
exactly the same in both photos! ;) except the
cab paint has been stripped.)
Ok
then, back to
work on this
project...In
addition to
this Bachmann
"connie"
2-8-0, I also
have two
Bachmann
Spectum
moguls,
beautiful
2-6-0's. One I
painted up
myself:
 And
the other my
Dad painted
and weathered
for his
railroad:
 (My Dad
passed away in 2009, :( the locomotive is
now mine)
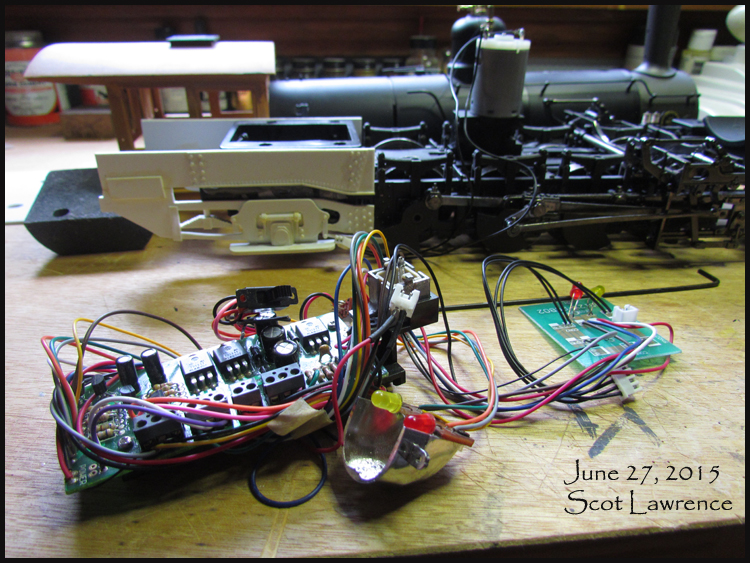
The gear on the first mogul stripped..the locomotive wont move..a very common problem with Bachmann large scale engines..Since I already had one stripped gear on a mogul, a second mogul and a connie that will likely strip their gears eventually, and I already had the connie apart for this project, I made the decision to order three gears and just replace the connie gear while I had the locomotive disassembled! even though the gear hadnt actually failed yet...odds are good it will eventually fail, so I might as well just go ahead and replace it now, before I finish the project and put the locomotive back together..makes sense to me. June 28, 2015. Took
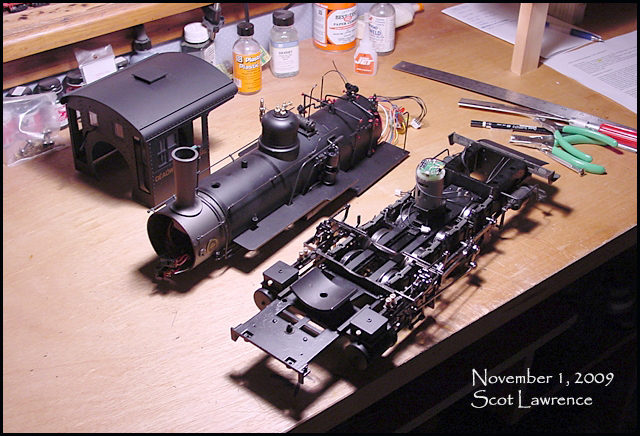
out all the
electronics,
to prep the
boiler shell
for painting:
 Doing
the gear
change! I got
the North West
Shortline
gear, and used
MIK's gear
change
directions:
http://www.cvsry.com/MIK/Ashpit/gear.html
Wasnt bad at all! all went smoothly. 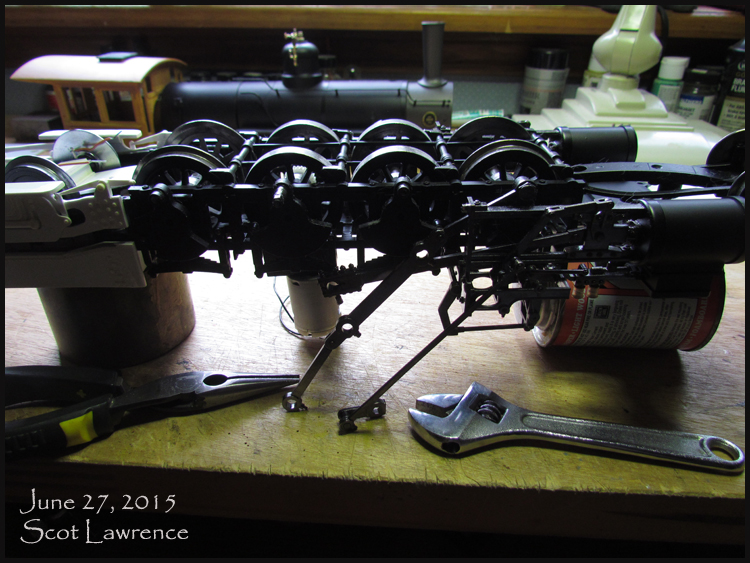 Next,
removing the
handrails. I
popped a
question on
MLS:
http://forums.mylargescale.com/15-model-making/53714-removing-handrail-stanchions.html and got them removed. 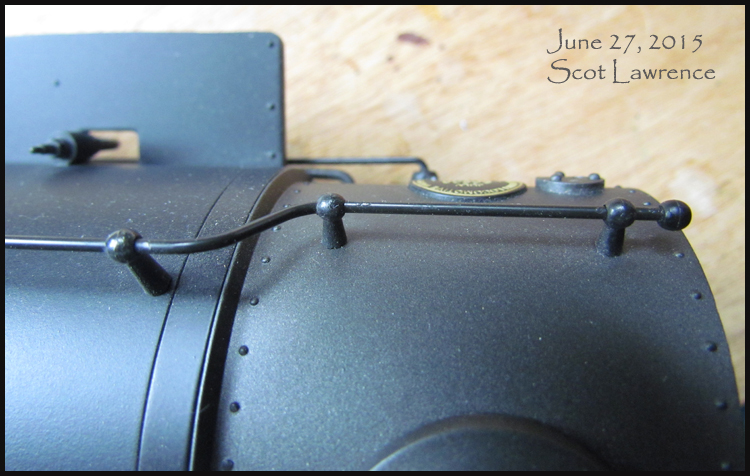 The
boiler is
ready to go:
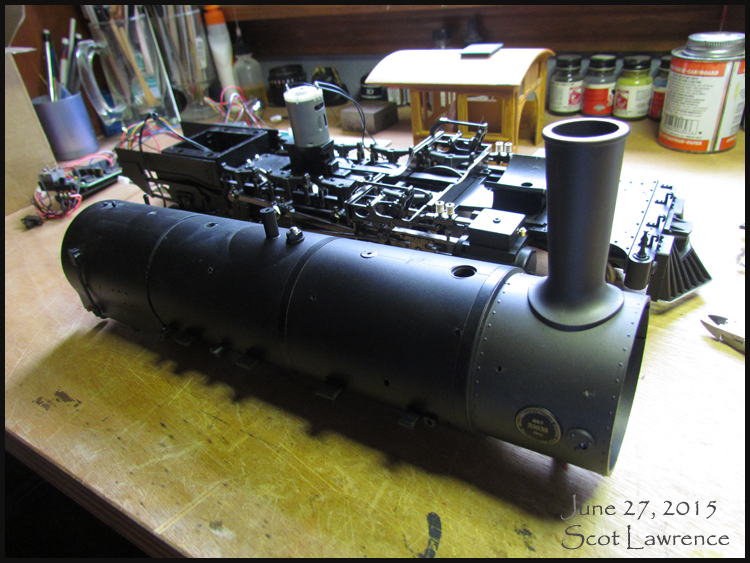 ..next up, painting the Russia Iron boiler. August
22, 2015.
Got the Russia Iron applied! I used Testors Model Master buffing metalizer paint, in the spray can. I tested out "Stainless Steel" and "Gunmetal". The Stainless Steel was too light, but the Gunmetal, No. 1455, was perfect. 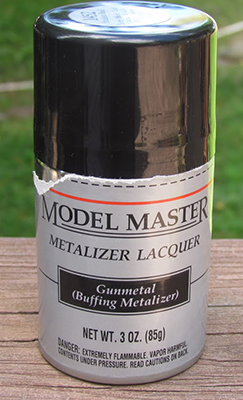 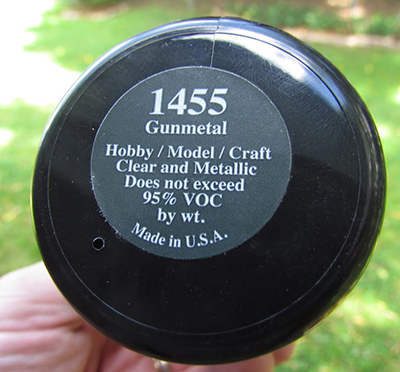 I waited for a cool and low-ish humidity summer day. (about 75F (24C) and 50% humidity, gorgeous weather for August!), and following the directions on the can, sprayed the boiler outdoors, waited an hour, then buffed it out with an old soft t-shirt cut up into strips. It turned out really nice! Im very happy with the results: 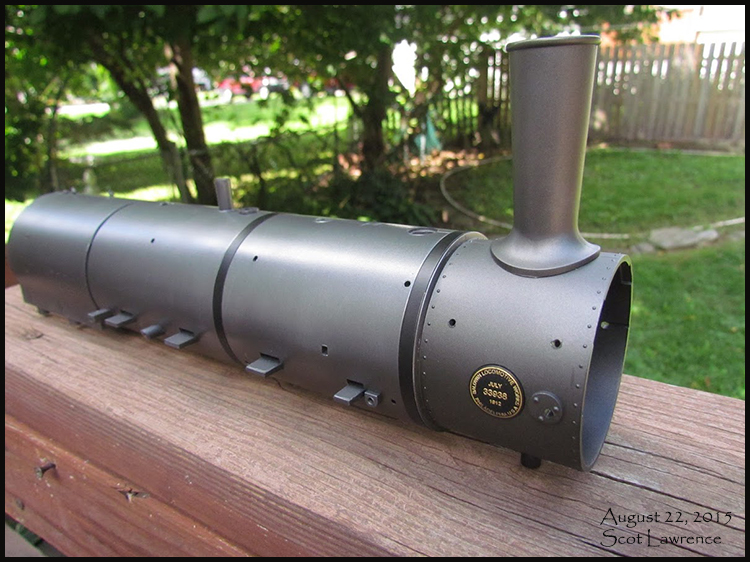
Before
painting, I
removed the
brass boiler
bands, and
masked off the
smokebox and
stack. (a
third boiler
band will be
scratch-built
from brass
strip) I was
hoping there
would be a bit
more a
contrast/difference
between the
boiler and
smokebox
color, but I
still really
like the look. I
have a page
about Russia
Iron
here: Russia
Iron. Next
up,
re-assembly
will begin!
November
28,
2015. 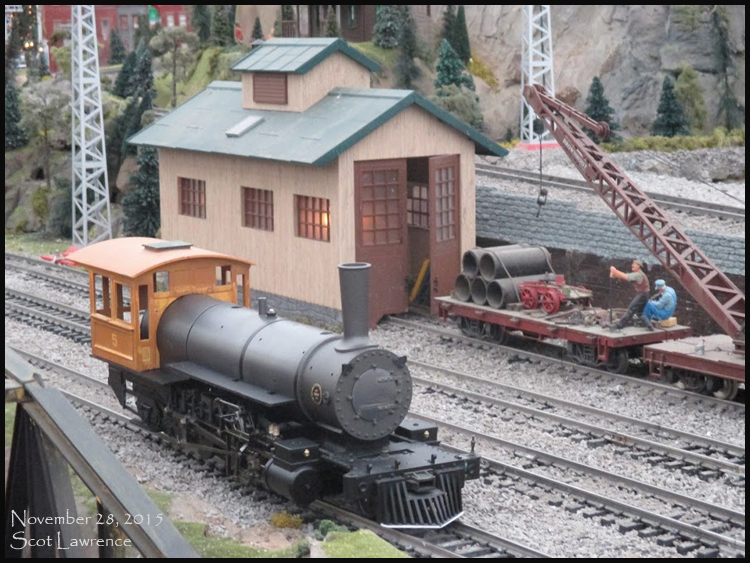 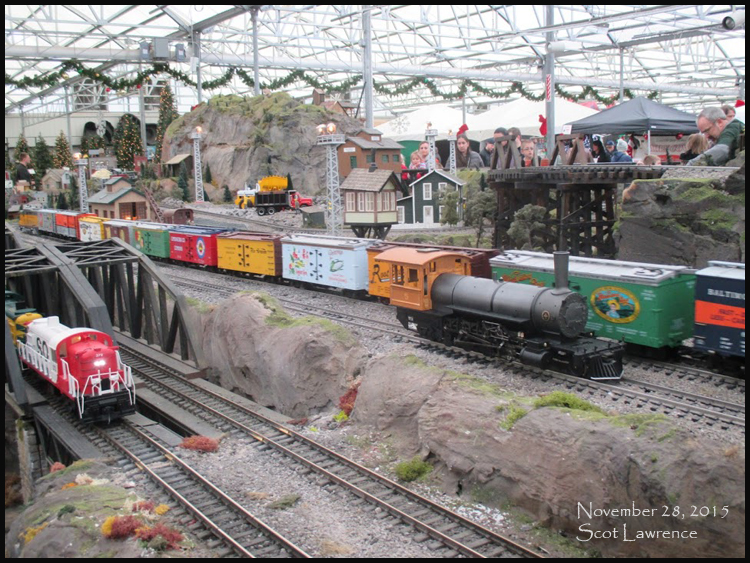
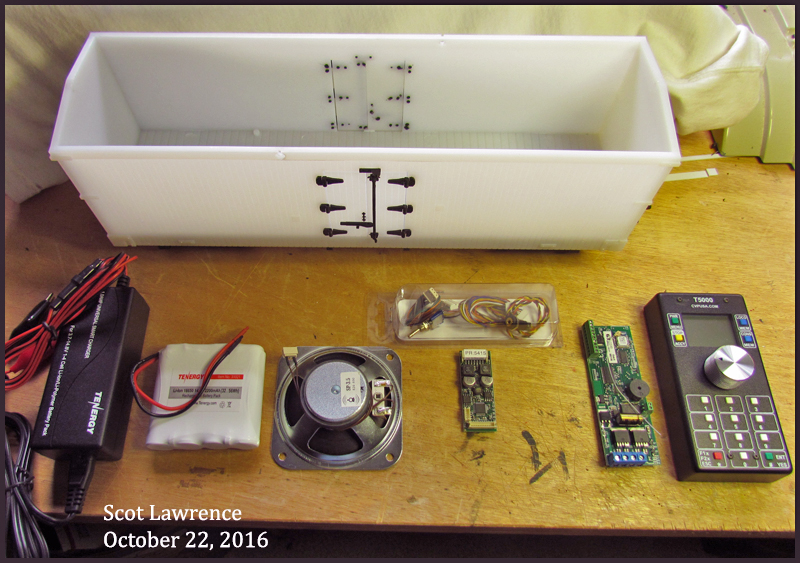
October
2016 The battery and sound car is underway! :) I'm converting a USA trains reefer into a trailing battery and sound car, that will be used with all my steam locomotives. Airwire for control, and Phoenix P8 sound.
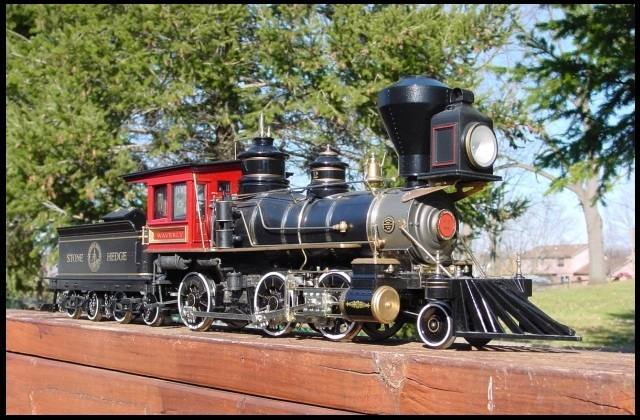
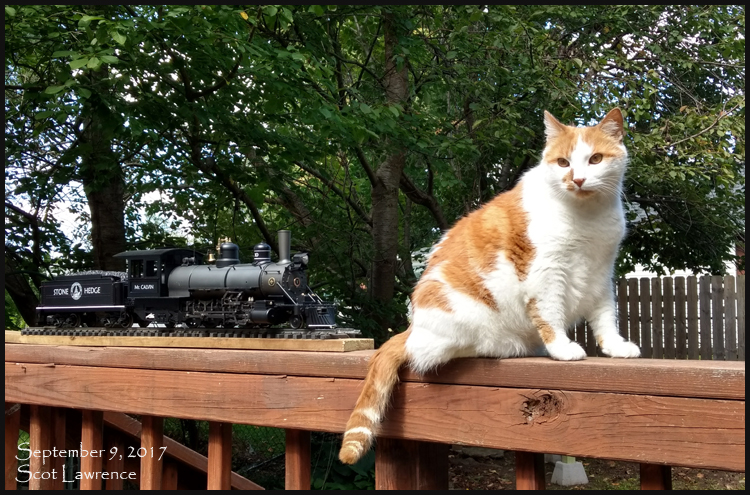
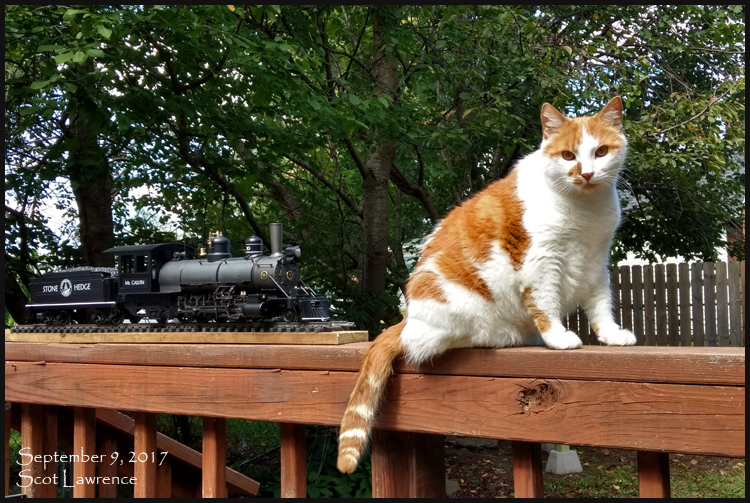
September 9, 2017 The
cab is
re-painted,
and the cab
and tender
receive their
lettering.
Calvin poses
with his
namesake
locomotive:
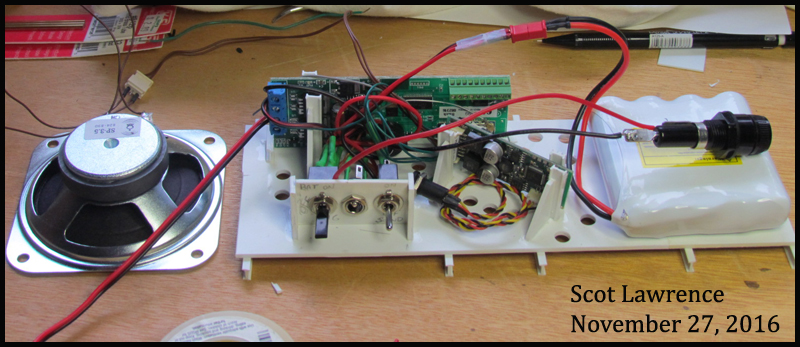
September
13,
2017 First
test-run of
the sound car!
it's working
great! 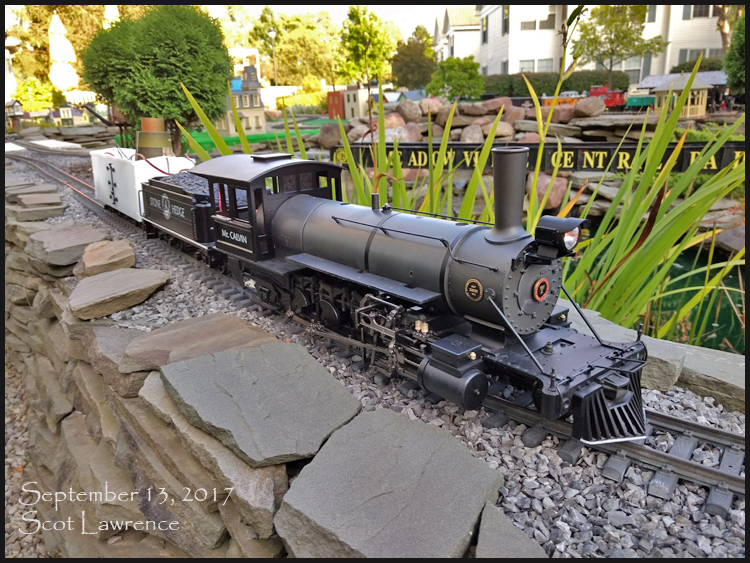 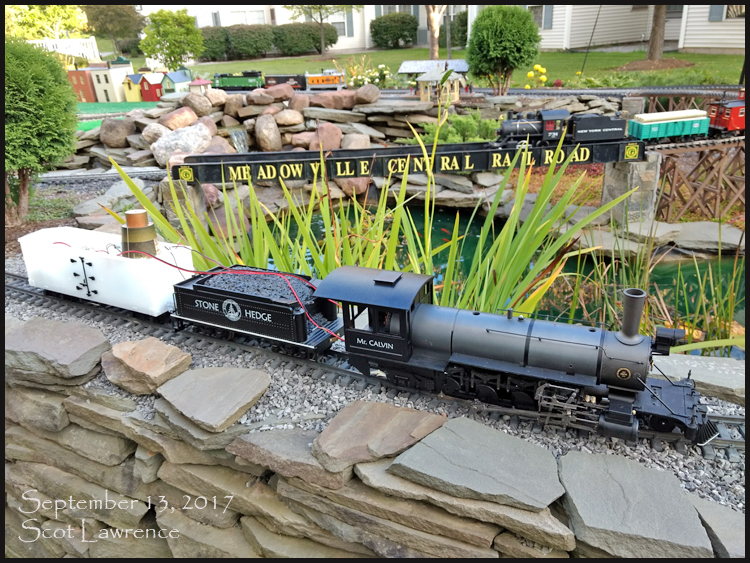 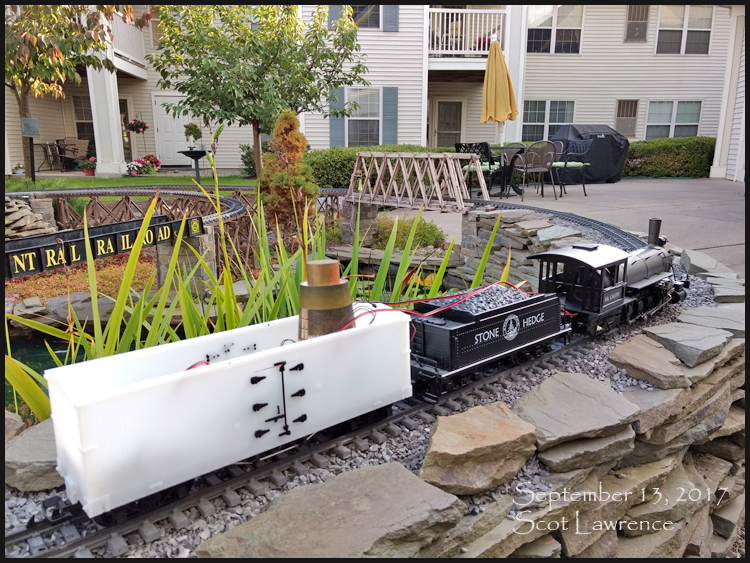 Video!
All
that is left
now is
to neaten
up the wiring,
install the
plugs/connectors
between the
battery car
and the
locomotive,
and get all
the details
back on the
locomotive. The
project
is nearly
done..
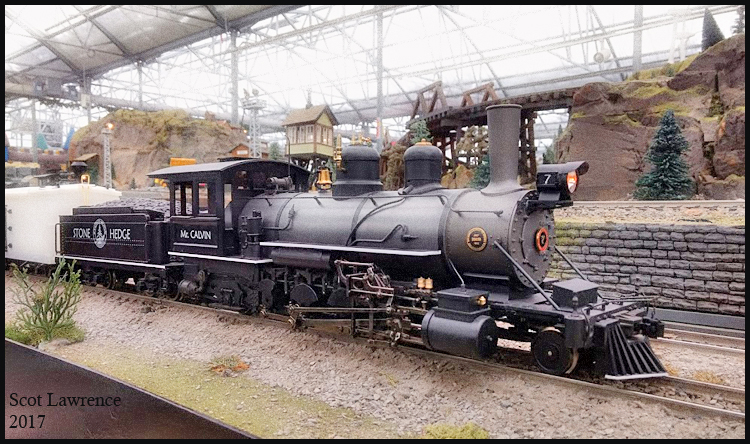
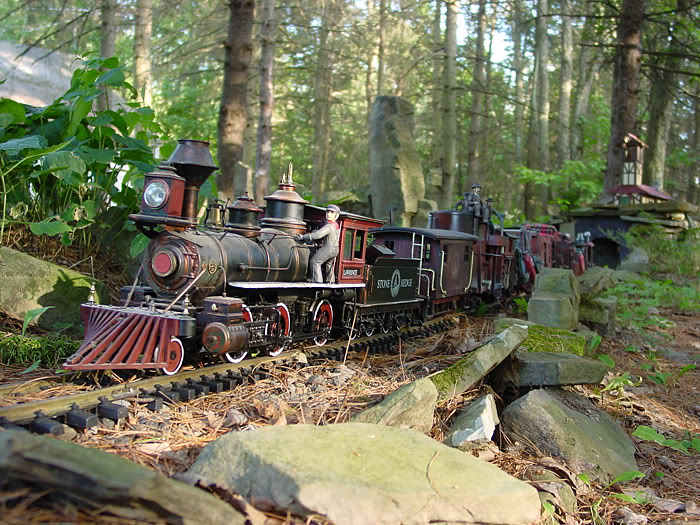
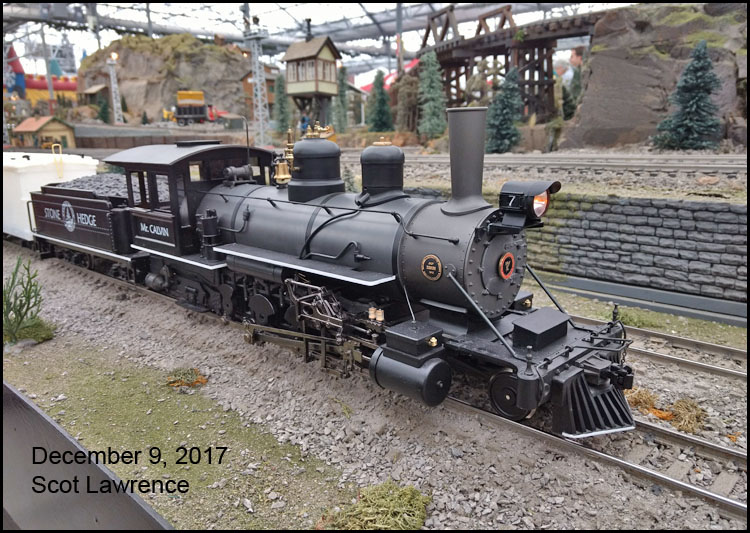
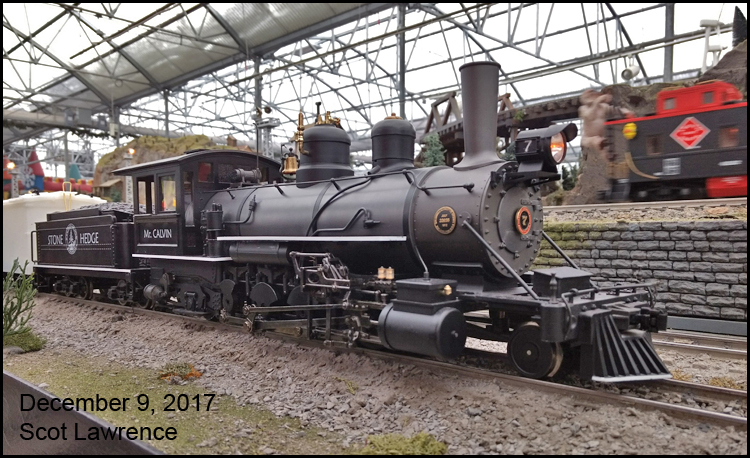
December
9, 2017 The
locomotive and
sound-car are
complete! The
completed
locomotive and
sound car had
their first
run, in their
completed form,
at the RIT
train show in
Rochester
on December 9,
2017: 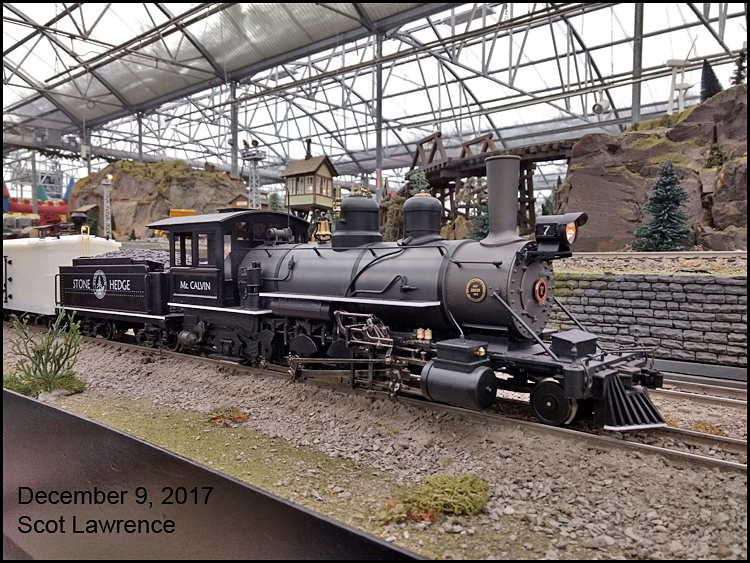
 December
16,
2017
And a week later, the locomotive ran again at the Garden Factory Holiday railroad. This project turned out great! i'm very happy with the locomotive and the sound/battery car. My other steam locomotives will now be modified to work with the sound/battery car, this one car will power all of my steam locomotives. 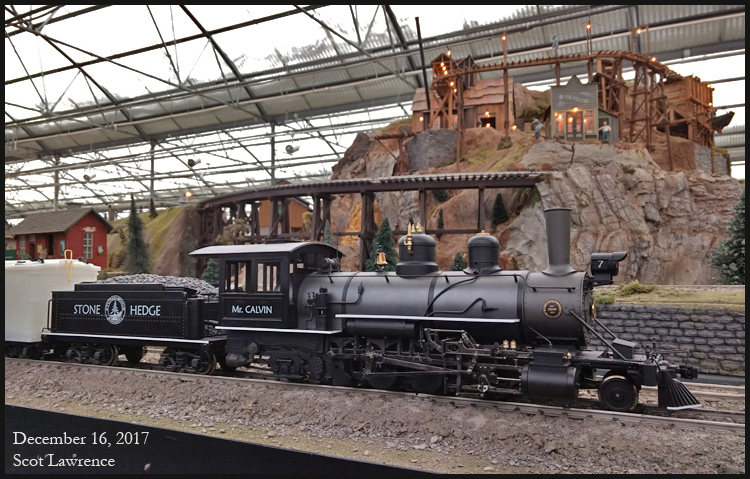 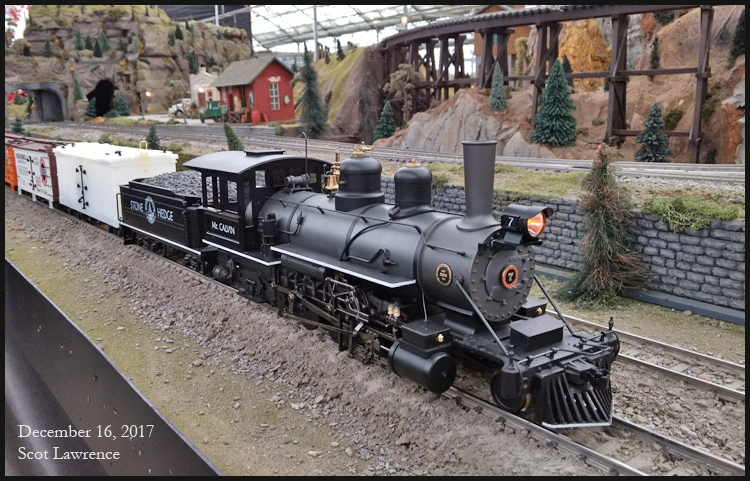  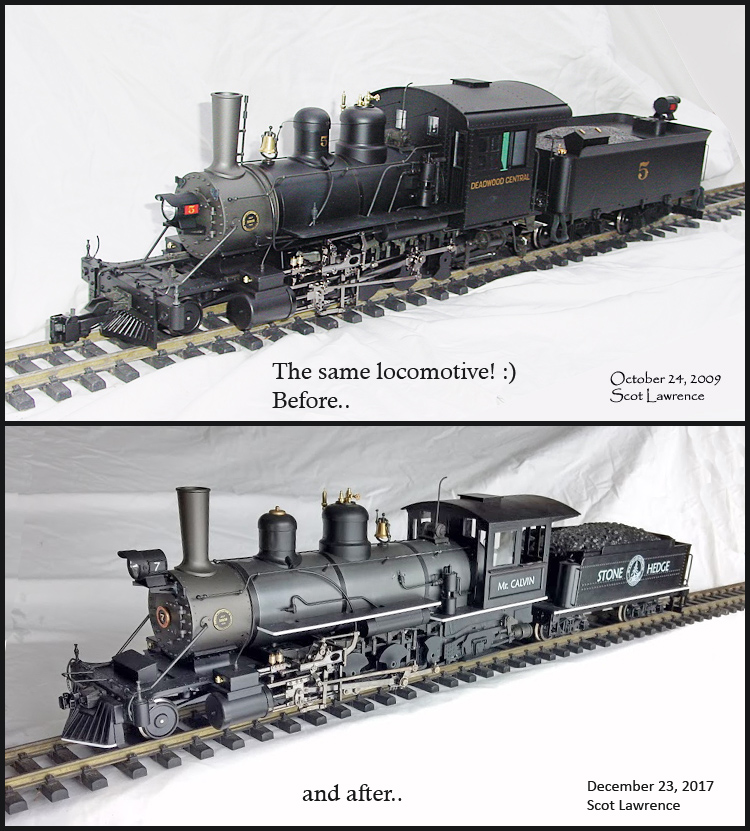 Video! And that's everything! Thanks for stopping by.. 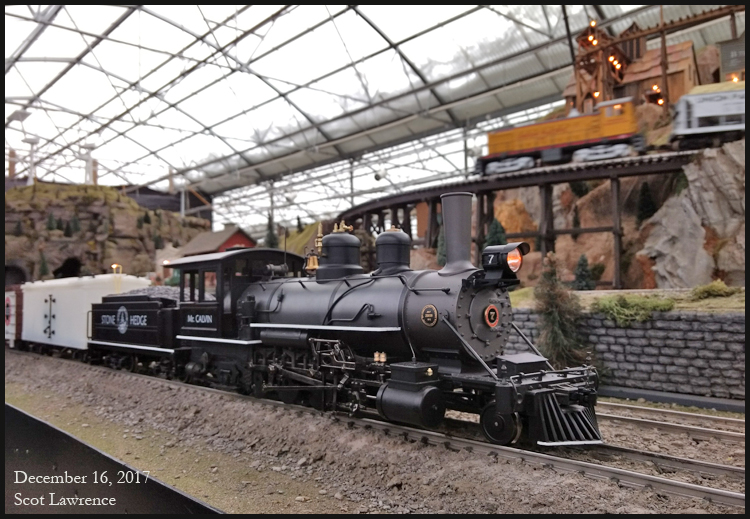 
|
||


