 2010 - Year
One -
actual construction begins!
I think im now in the third year of working on a trackplan! sometimes I think
its a bad thing that I take sooooooooooo
long to get projects off the ground..but
in this case, all the time spent
planning, pondering, drawing, and
tweaking the trackplan has been a
benefit! because the trackplan has
changed yet again! and I think this time
it will be the last major revision! I
sure hope so... Here
is
where
things
stood
at
the
end
of 2009:
I thought that was going to be
my final plan..and I actually began some
(very little) construction using that
plan!..even though I liked a lot about that
plan, it did still have some
drawbacks..namely it would require a BIG
rock wall (im having issues getting enough
rocks) and that plan *still* hadnt solved my
"track power/battery power/live steam"
concerns.. So in the Spring of 2010 a new
plan was born! Another dilemma..In an ideal world, I would like to run three different types of power: 1. Track power, for my diesels..I plan to run multiple-unit sets of 1/29 scale diesels..two, three, and probably even four unit sets, and converting them all to battery power would be a pain..I would prefer to just keep track power for the diesels. 2. But I also want to run some battery power! because my Dad's (steam) locomotives are already converted to battery power, I would like to keep them that way, and I will probably convert some more of my steam locomotives to battery power..because I really like the benefits of battery power: no track cleaning, and no wiring, making things like wyes and reverse loops very easy. 3. I also have live steam! Live steam and
battery power work fine together, but live steam
and track power dont play so well, because live
steam makes the track really dirty.. So how to combine those three "wants"
into one railroad?? I hadnt solved that problem
yet..and my previous (2009) trackplan didnt
really address the issue.. The new trackplan SOLVES everything! and
gives me the ability to have all three of those
methods of running trains! 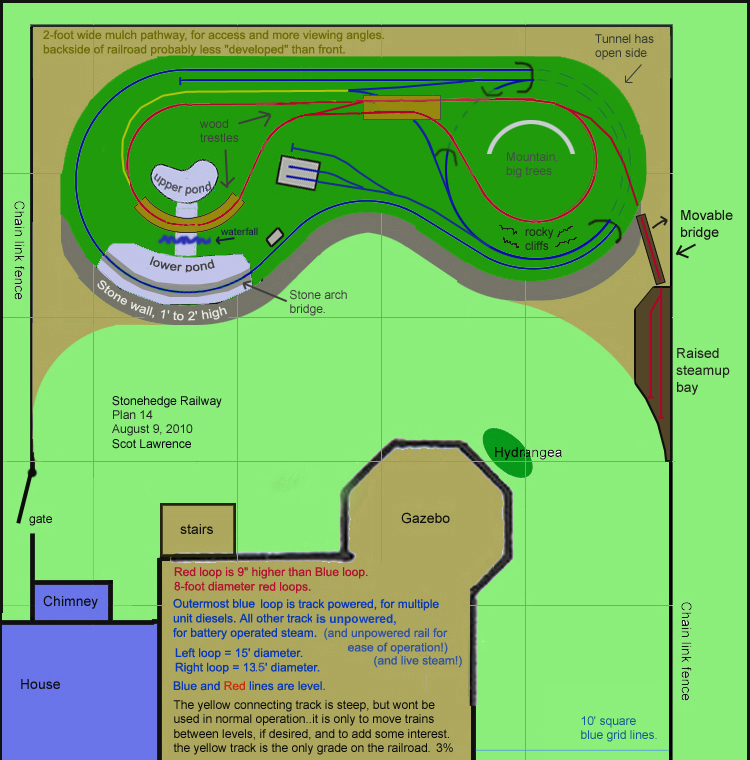 I REALLY like this
plan!
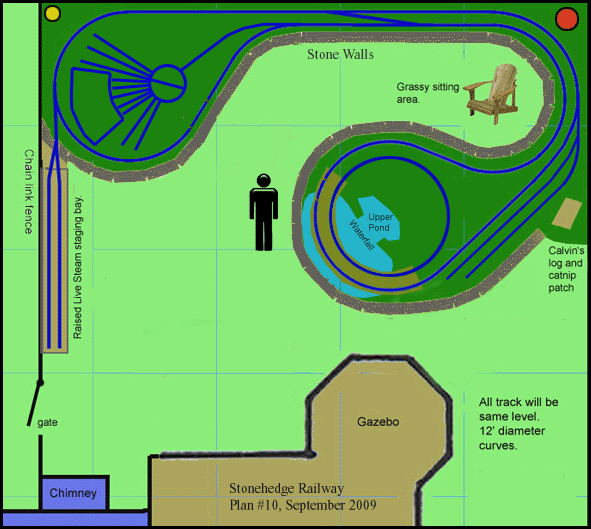
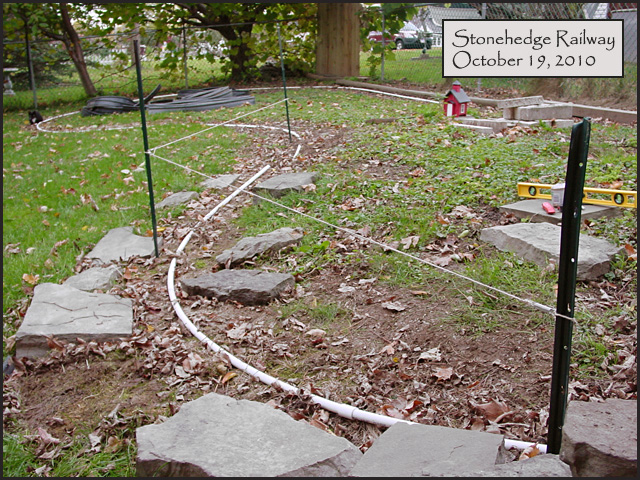
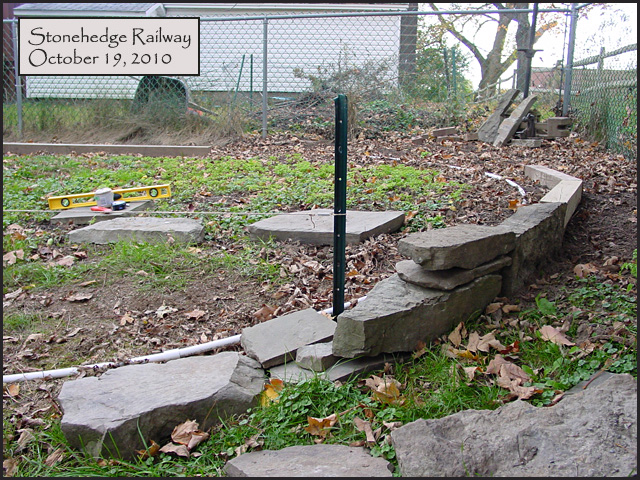
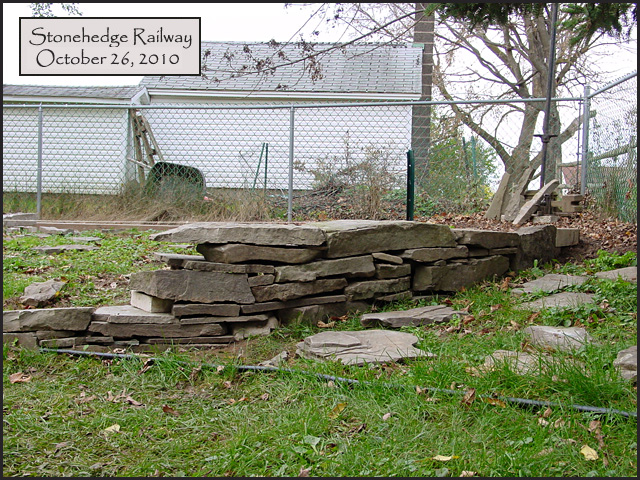
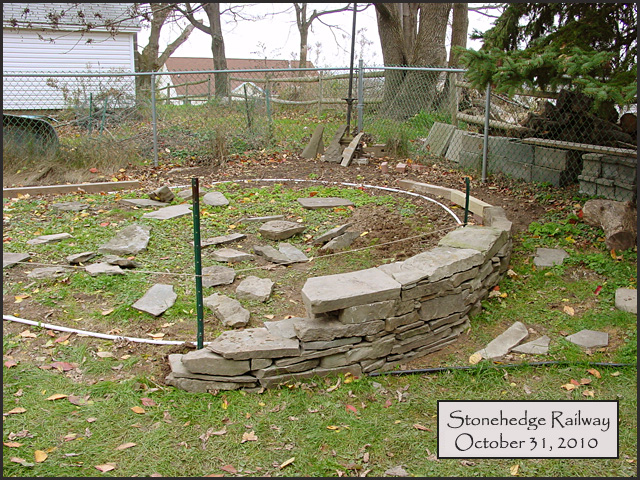
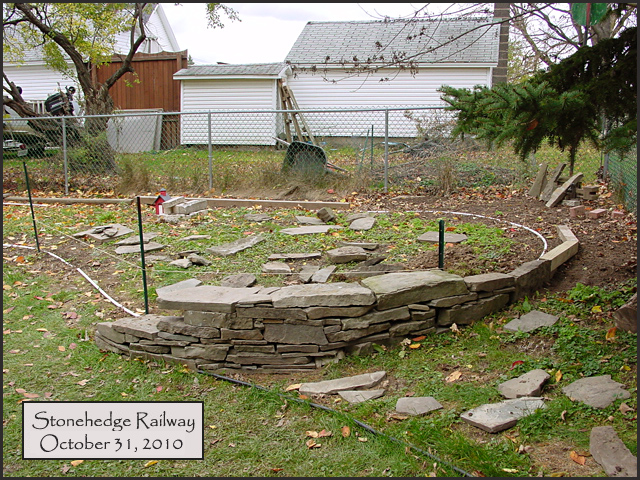
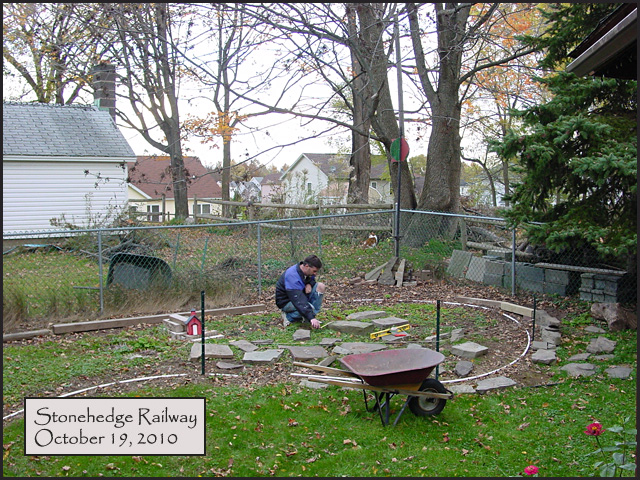
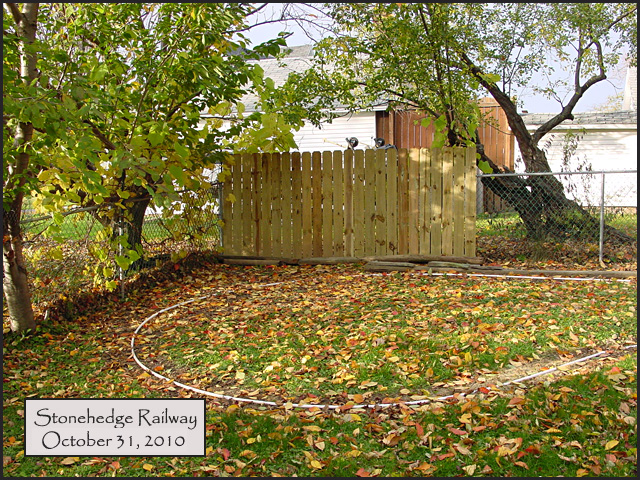
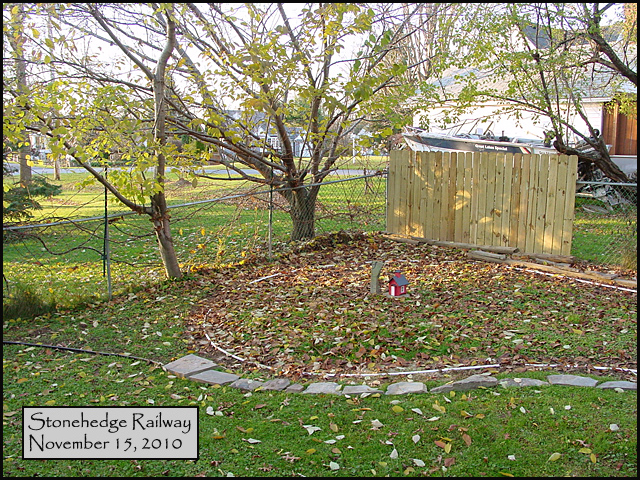
Its time to get to work, for real this time. Here is a look at the space in its final non-railroad form..it has been lying idle for two years now, (except for a small amount of construction that began last fall.) 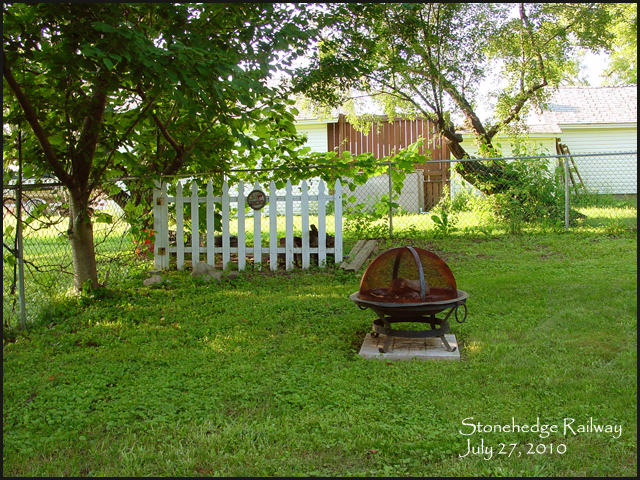 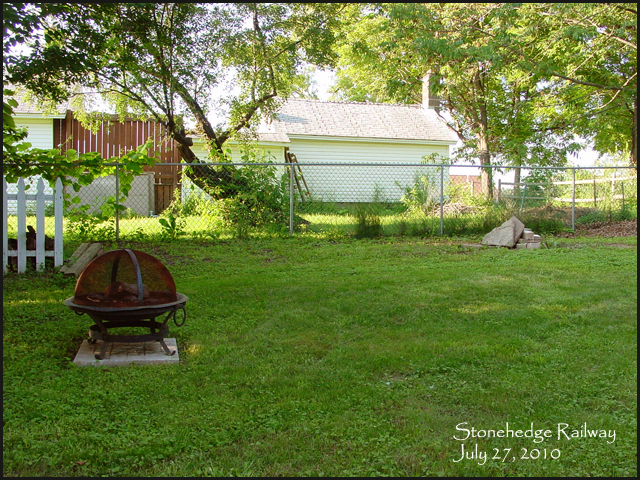 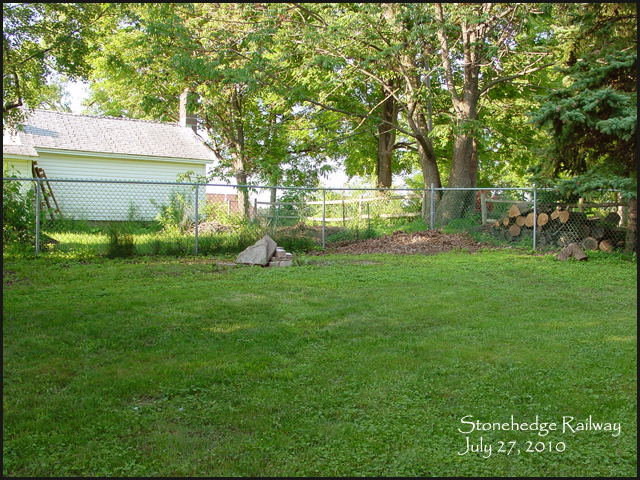 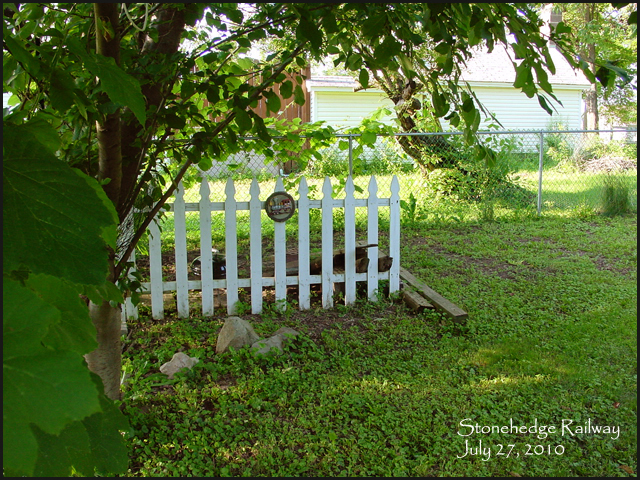 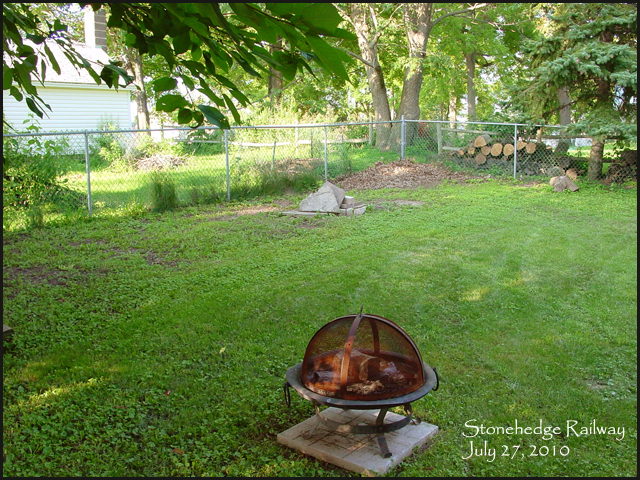 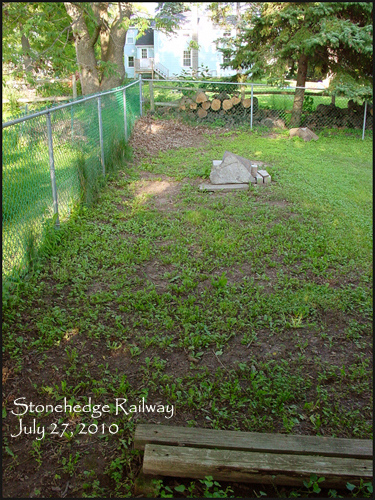  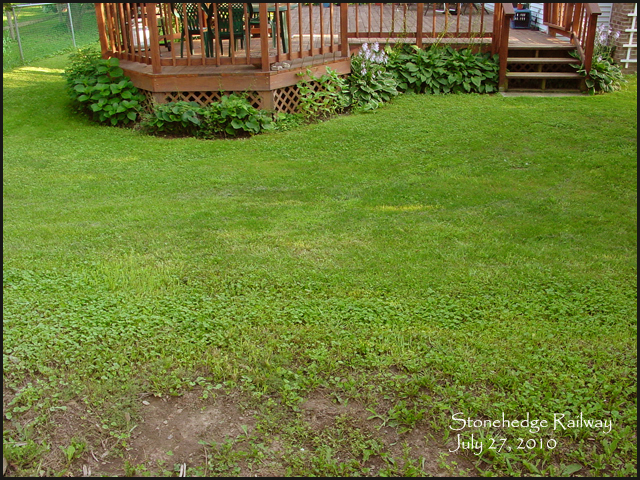 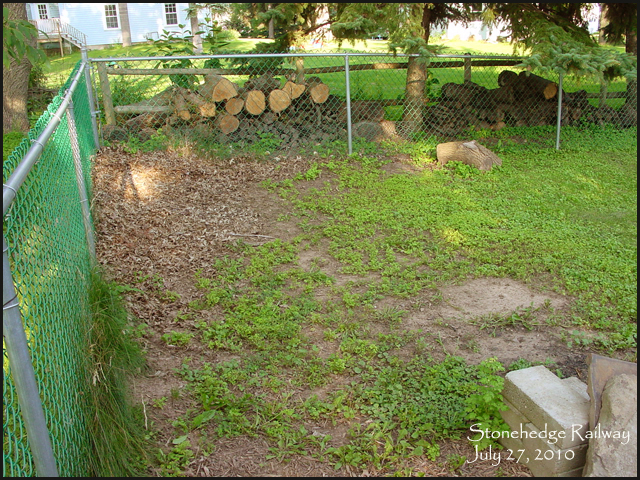 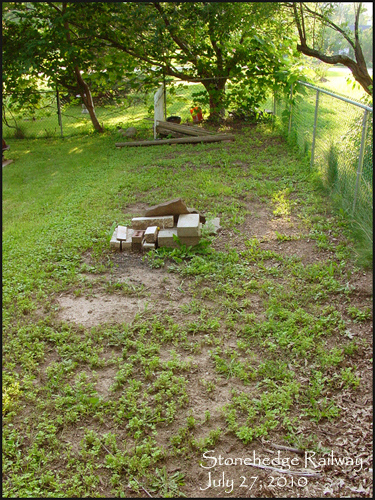  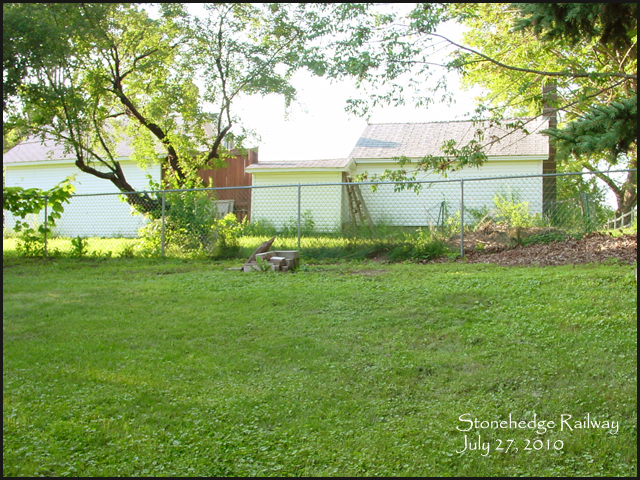 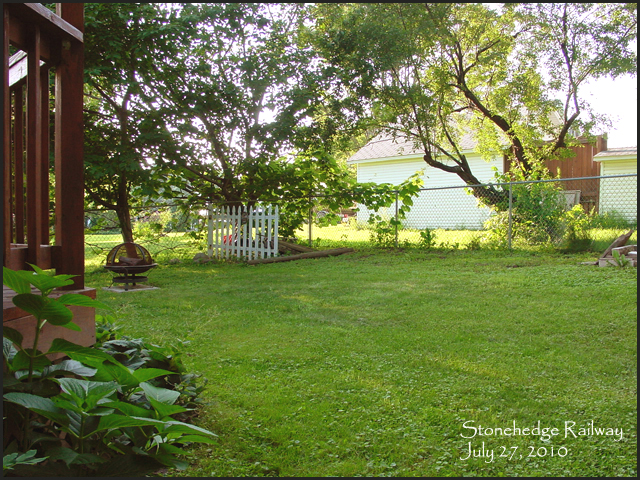 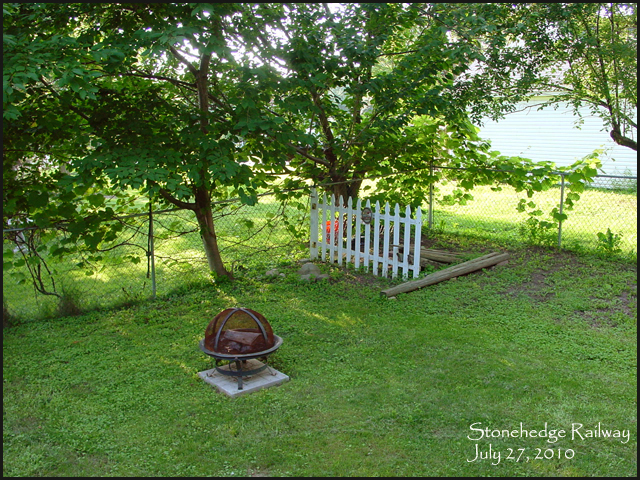 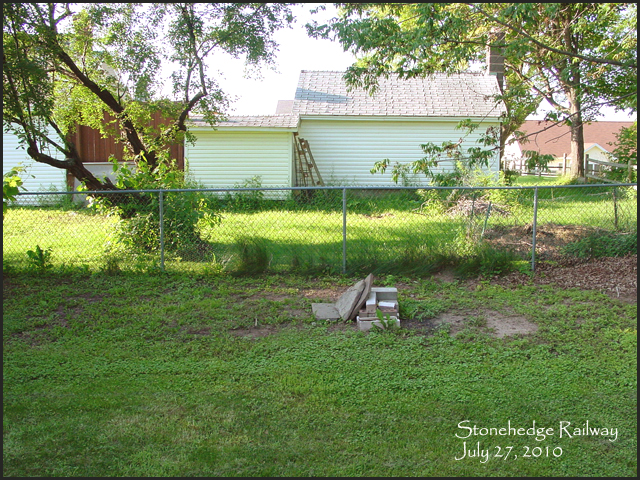 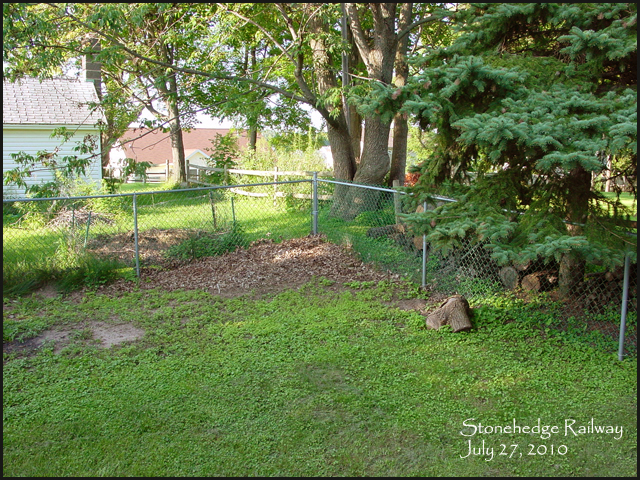 And thats the state of the site right before actual construction of the railroad begins! Update - August 2010 Got a cool new decoration for the railroad! Its a antique switchstand..I dont know the exact railroad it came from, but I know the region (Western or south-western NY.) Looking through some books, I suspect it might be Pittsburg, Shawmut & Northern..but I will probably never know for sure.. date is also uncertain, but probably early 20th Century. 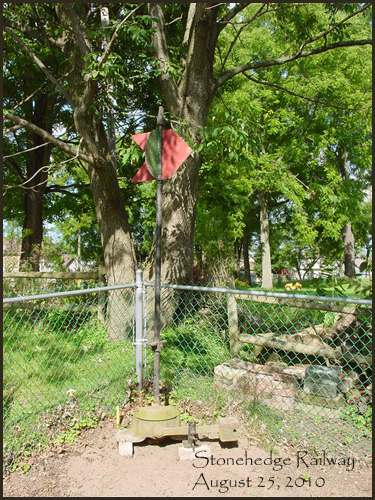 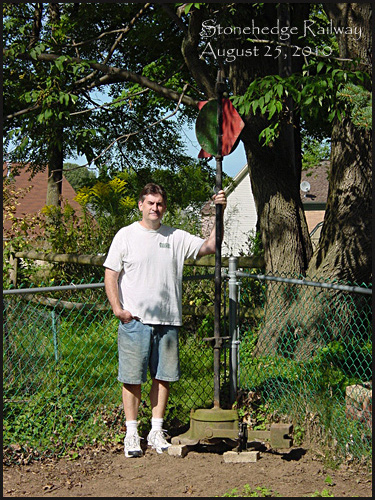 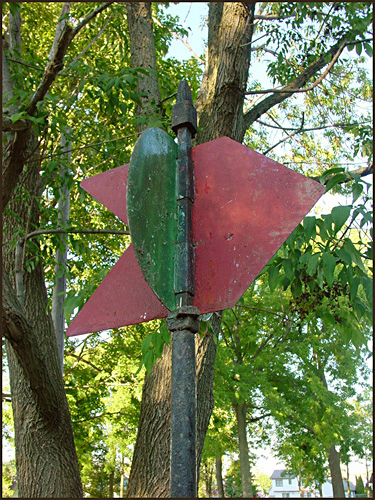 August 26, rock wall construction begins! 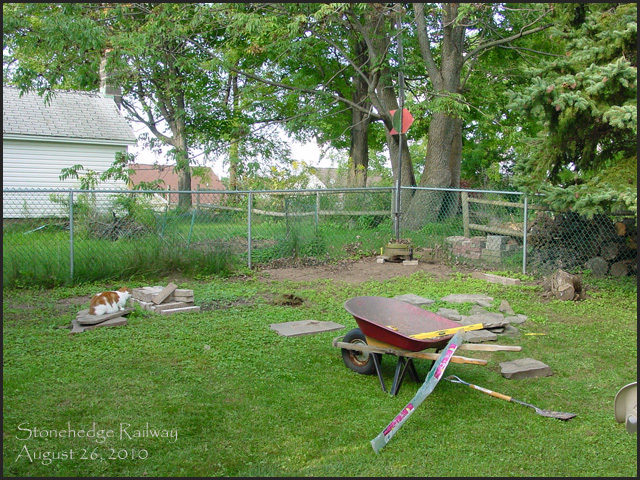 This is the first stone in place! Had to dig into the slope a bit to make it level.. 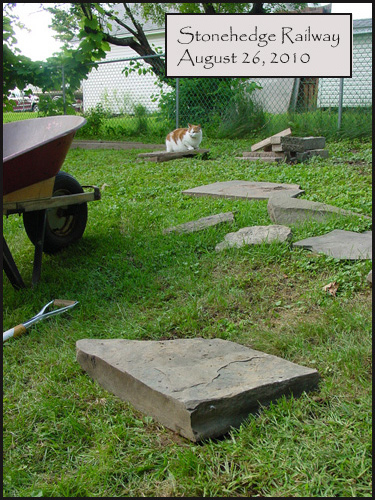 Also the first border of the railroad is defined..that black plastic edging marking the eastern end of the railroad..this will be the area under the steamup bay.. eventually the black edging will be replaced by a nicer stone border.. 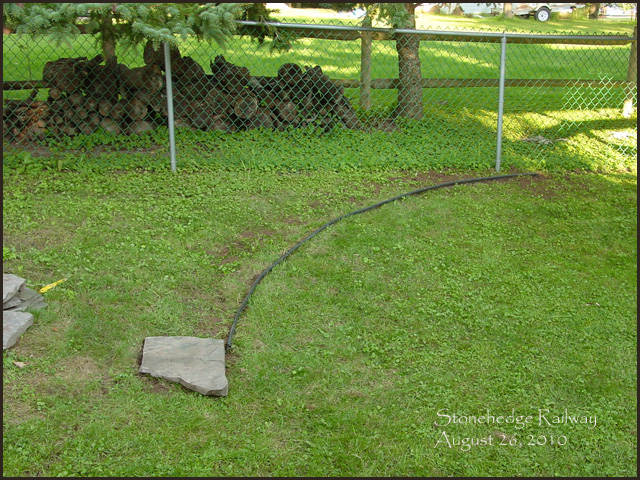 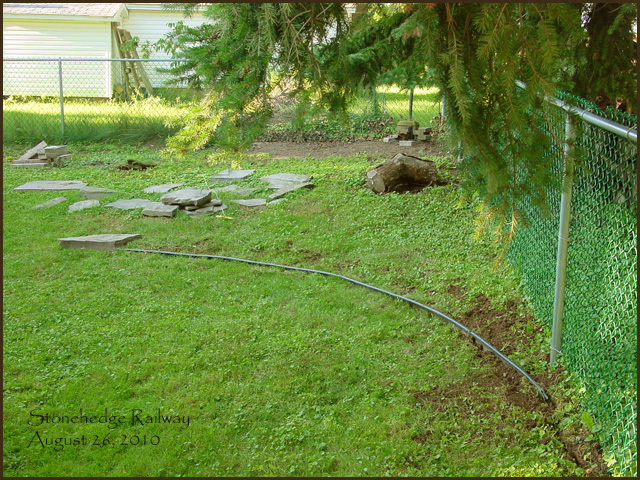 Started to lay out the right-of-way!  White PVC tubing is then laid in the shallow mark, and spiked down for the winter.. This is *not* a part of the final roadbed..the white pvc is simply acting as a visual marking so I know where the track is going to go, because I plan to build the outer edges/borders of the railroad before roadbed construction begins..the pvc tells me where the track is going to go, so I can begin building the rock wall in the front, and the shallow wood retaining walls along the back. 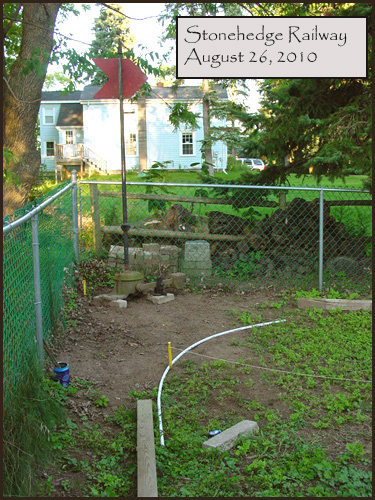 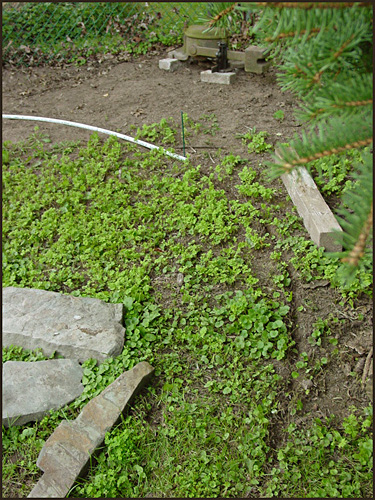 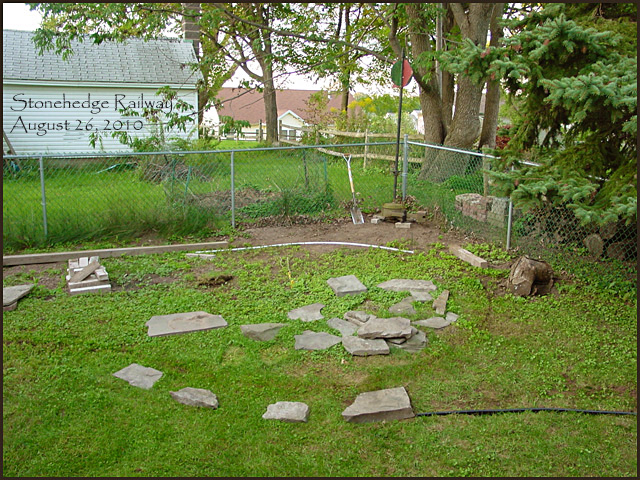 First fence panel is up! these will eventually stretch all the way across the back. 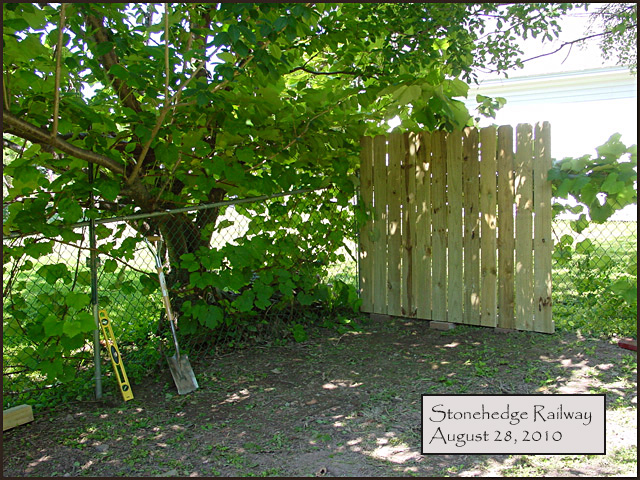 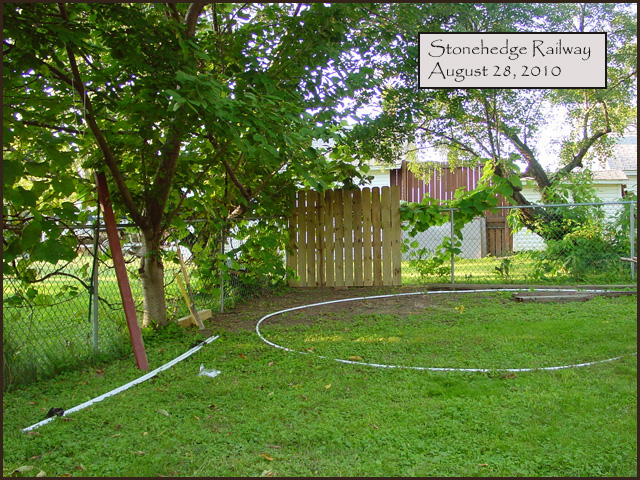 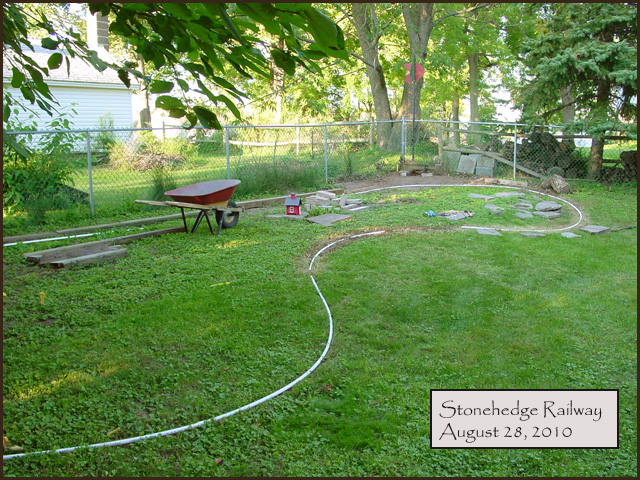 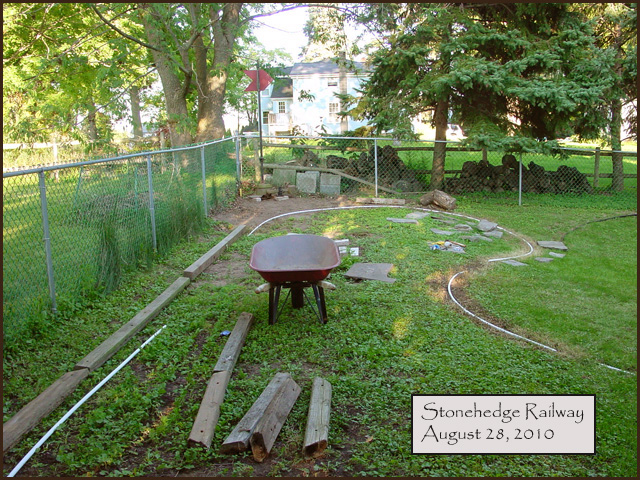 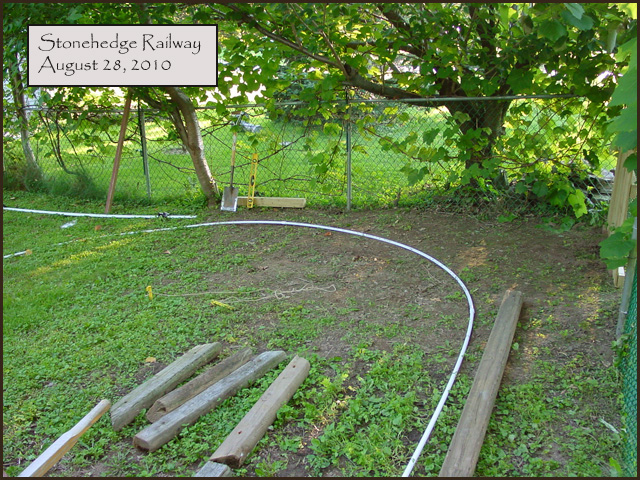 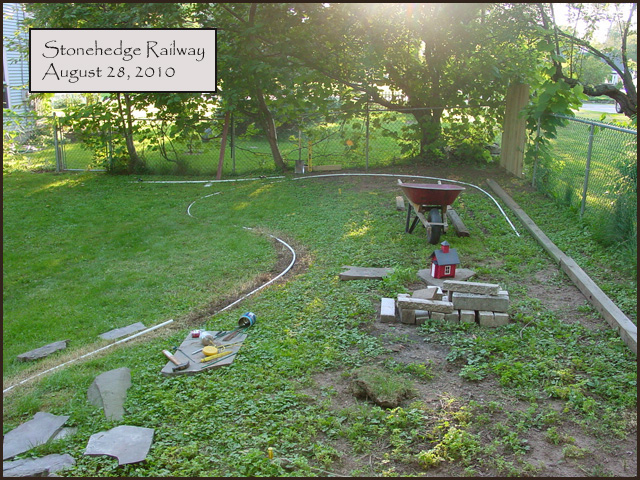 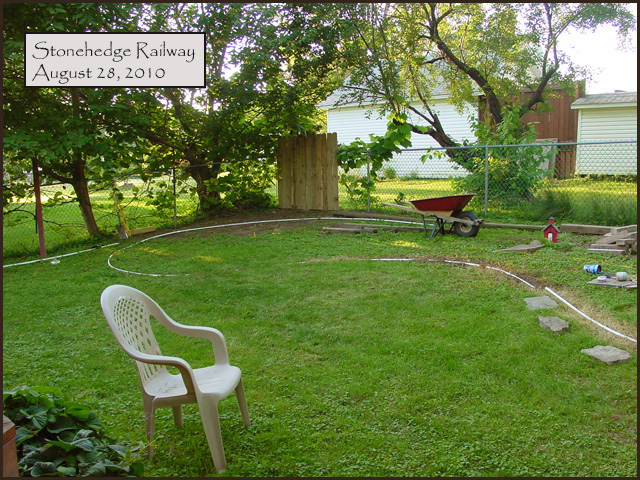 First Video! August 2010, showing the origins and planning on the railroad: Video 2! August 28, 2010: Taken with an ipod! And thats the look for August...I will also have an update for September and October! coming soon.. I hope to get the majority of the rock wall built before winter begins on November 1st, and all construction ceases for the 5-month long "indoor model building season"..also known as "winter" Update - September 2010 Small update for September.. Some experiments with rock placement.. im attempting to re-build one of my Dad's rock walls as close as possible, from his old railroad.. these three vertical stones are from that wall.. 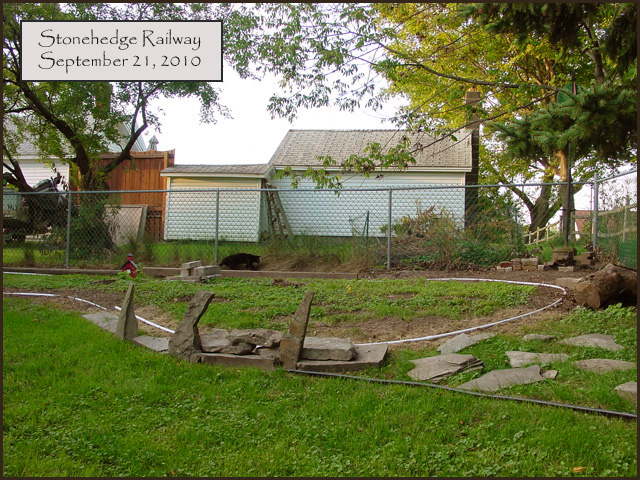 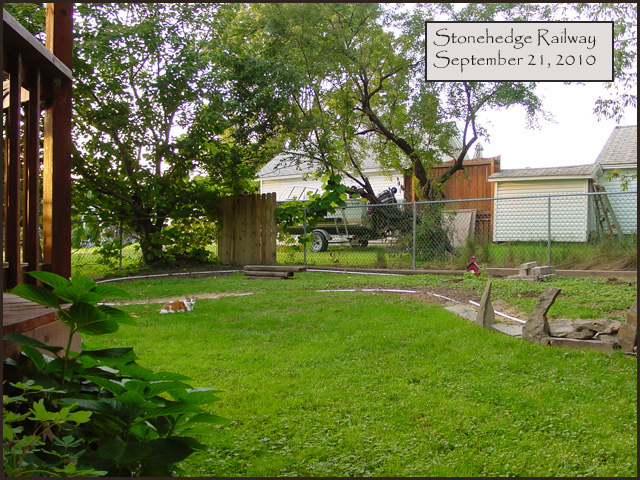 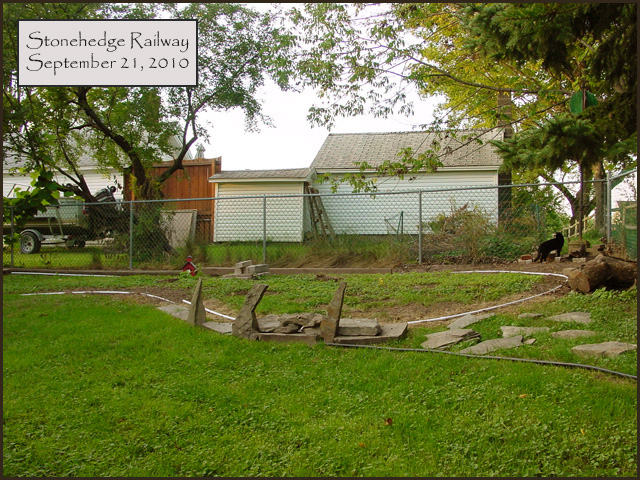 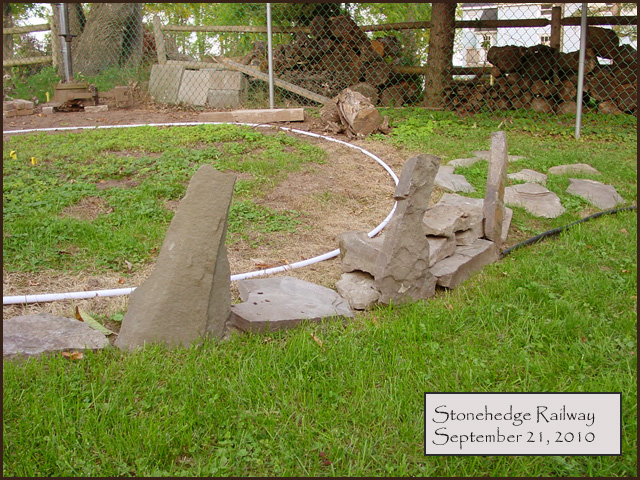 Unfortunately there is a major problem with the positions of these rocks! they are meant to stick up above the wall somewhat..the bottom half of the vertical stones will be part of the wall..the top half will stick up above the wall..well in the photo above, the tops of those stones is the top of the wall! 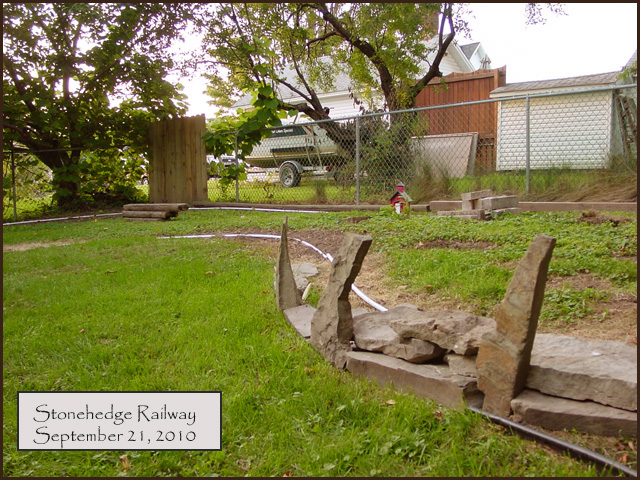 alas..I really want to use those three stones! in their original configuration my Dad had them on at his railroad..but probably not a big deal that they dont fit right here, I will just have to find a home for them somewhere else on the railroad..inspiration will strike.. The west end of the railroad remains quiet, for now. 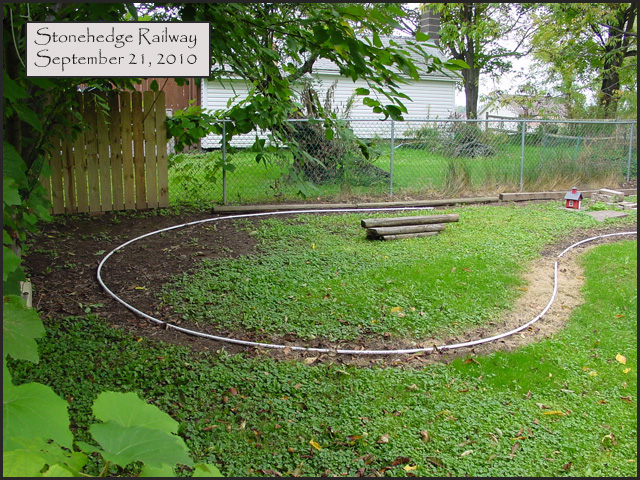 Update - October 2010 Rock wall building continues.. 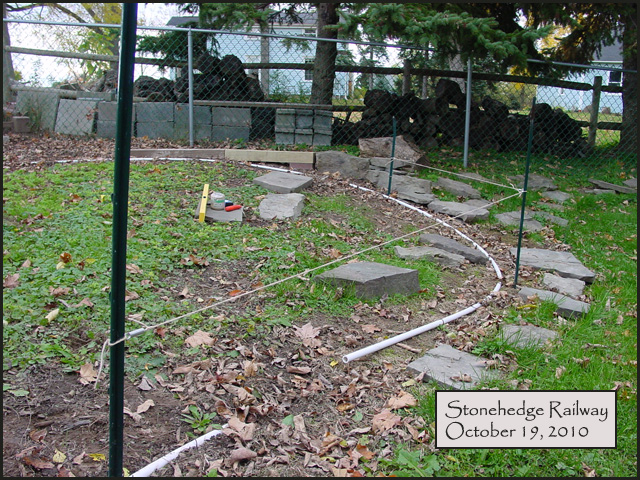 As I discussed last month, my Dad's three "standing stone" monolith rocks arent working out in this location, because my wall will need to be much taller in this spot than my Dad's original wall was..so I removed the three standing stones for now, they will go somewhere else. 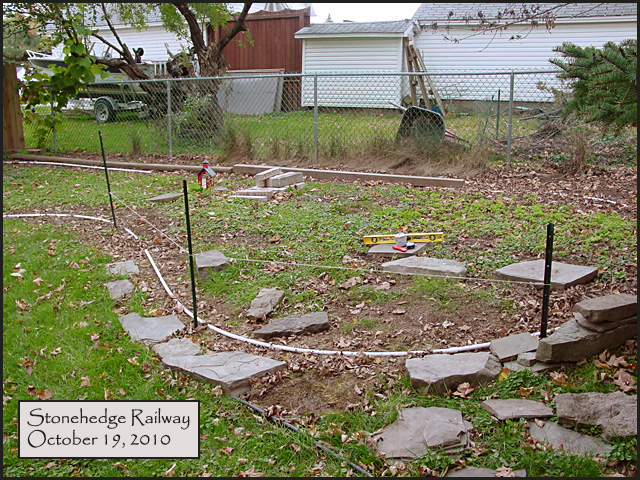 I put some stakes in the ground, and used the water level to string some string to mark the top of the wall.The top of the wall is 2" higher than the track height will be.I got some springs from the hardware store, to keep the string tight.
Wall construction begins.. Deb snapped this one of me at work! as you can see, my helper has jumped
over the fence..he gets bored easily.
 One week later, October 26, building continues..Certain large stones are set aside to be the "cap stones"..large, heavy and square-ish are the requirements for a good cap stone. 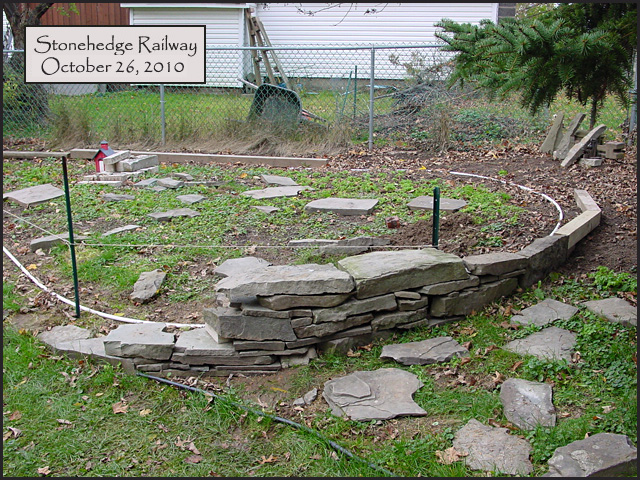
October 31. Fence panel two is up!
And thats it for October..
im running low on rocks! I was hoping I would have enough from my parents old yard to do the whole wall..I now know I will be short..I made probably 10 trips with the pickup truck over the past 2 years! hauling rocks from the southern tier.I also used some of them to build a rock planter across the front of the house, the rest were ear-marked for the garden railroad..I will have to find a new source! I have a few ideas.. There will one more update for this
year! November, just the last of the wall
building, then construction closes down for the
5 months of winter..stay tuned..
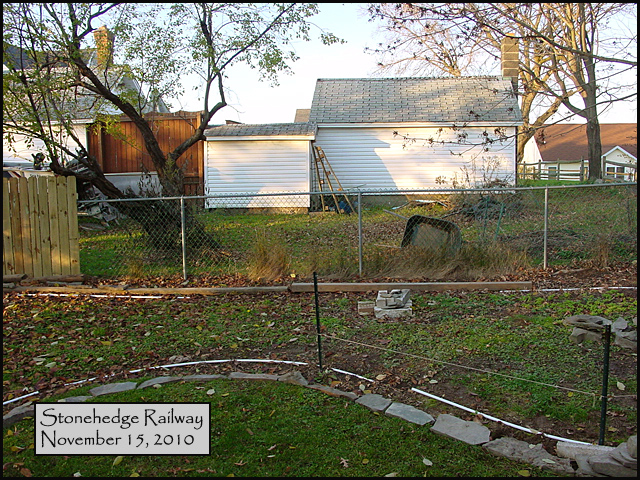
Update - November 2010 Final update for 2010..This is the state of the railroad when construction ceased for the winter, November 15, 2010. Not much happened on the Western end of the railroad in 2010, just some grading of the right-of-way and minor landscaping. 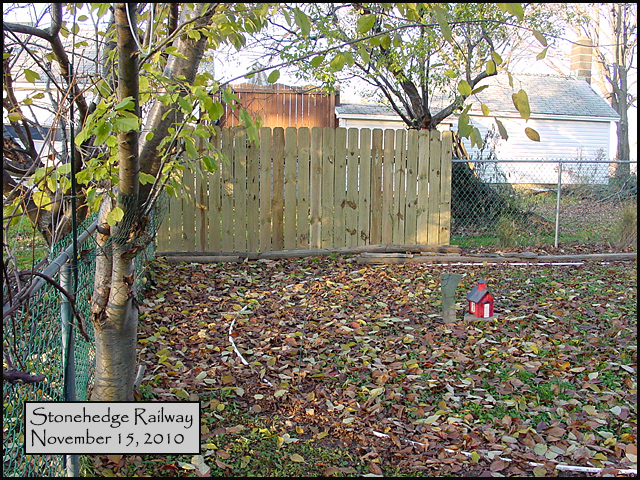
as always, Calvin supervises! 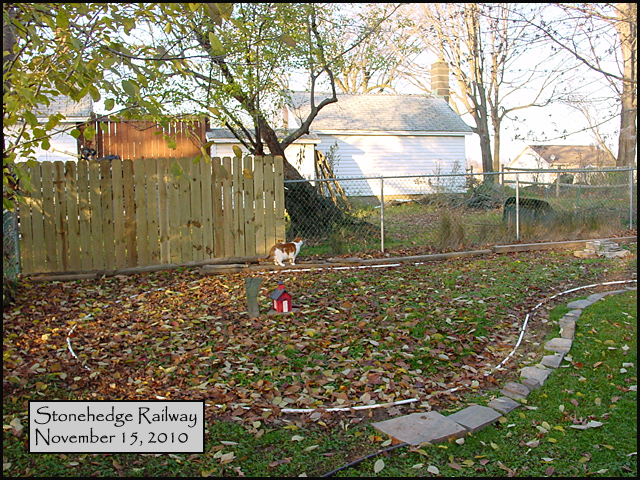 Stones are laid out on the ground, marking the entire front edge of the future wall.. these arent the actual rocks that
will be used for the base of the wall however,
they are far too small..they are just "place
markers" for now..
  The start of the rock retaining wall was the major construction effort of 2010. its looking good! about 2 feet tall on this side.. 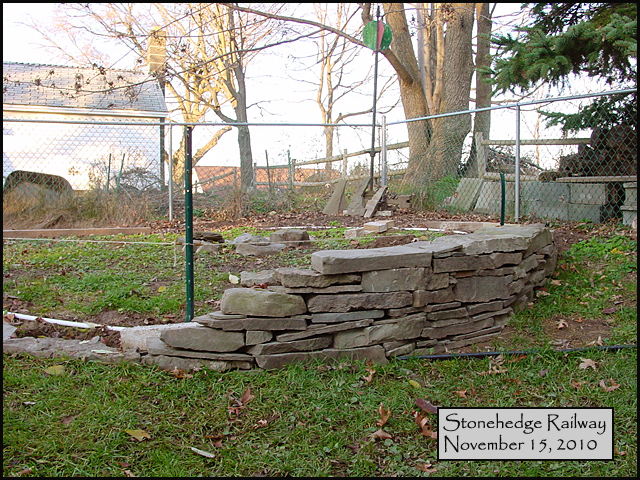 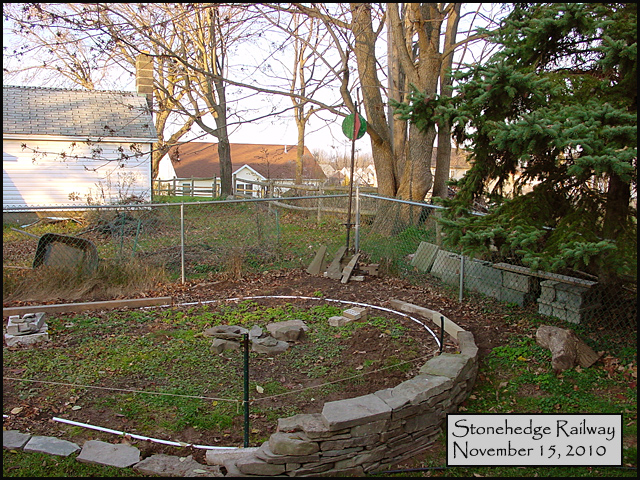 But i'm now out of rocks! And thats everything for 2010, "year 1" of the Stonehedge Railway. Big plans for 2011! I hope to have some roadbed down, and actually have a train running by the end of the year! thanks, Scot |
||
 |